
TL;DR:
- Home roasting requires consistent process control, logging, and proper ventilation for best results.
- Understanding roast phases and tracking variables like DTR and weight loss improves quality and repeatability.
- Small batch experimentation and patience lead to better coffee than equipment upgrades alone.
Most home roasters know the frustration: you pull a batch, brew a cup, and something is just off. Maybe it tastes grassy, or bitter, or weirdly flat. You followed a YouTube video, but the results don’t match. The truth is that home roasting has a real learning curve, and most guides skip the parts that actually matter. This guide walks you through every stage, from picking the right beans and gear to reading roast phases, fixing defects, and dialing in your process so each batch tastes better than the last.
Table of Contents
- What you need to start coffee roasting at home
- Understanding the coffee roasting process and roast phases
- Step-by-step: How to roast coffee at home for optimal results
- How to spot and fix common roast defects
- How to evaluate and dial in your coffee roast
- The biggest myth about home coffee roasting (and what really matters)
- Roast better coffee at home with Adira Coffee
- Frequently asked questions
Key Takeaways
| Point | Details |
|---|---|
| Essential home setup | A solid home roasting setup starts with quality beans, proper gear, and good ventilation. |
| Roast phases matter | Understanding drying, Maillard, and development phases is vital to getting consistent results. |
| Track and adjust | Use logs to refine your process, spot defects, and continually improve flavor with each batch. |
| Cool and rest properly | Rapid cooling and resting beans after roasting unlocks the best flavor possible. |
| Learn from every roast | Embrace mistakes as chances to perfect your technique and enjoy the journey. |
What you need to start coffee roasting at home
Before your first batch, you need the right setup. The good news is that you don’t need a professional roaster to get excellent results. You do need a few key items and the discipline to use them consistently.
Must-have equipment:
- A home roaster (drum, fluid bed, or stovetop popcorn popper for beginners)
- Fresh green coffee beans from a trusted source
- A kitchen thermometer or probe
- A roast logbook or simple spreadsheet
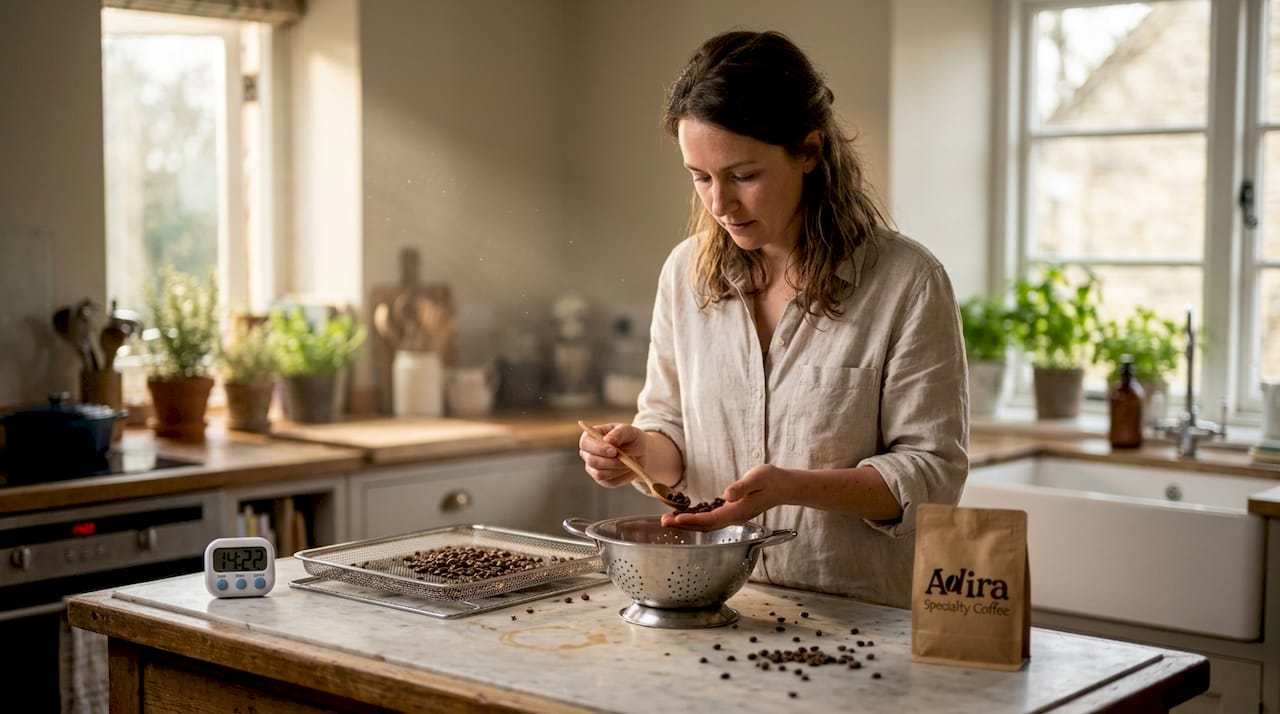
- A colander, cooling tray, or fan for rapid cooling
- Good ventilation (open window, range hood, or outdoor setup)
Nice-to-have tools:
- Dedicated logging software like Artisan or Cropster
- A kitchen scale accurate to 1 gram
- A color reference card or Agtron tile for roast color checks
- A timer with lap function
For beans, start with washed (wet-processed) specialty coffee. These beans are more forgiving because their flavor development is predictable and clean. Choosing coffee beans from a single, well-documented origin also makes it easier to isolate variables when something goes wrong. You can explore different coffee bean types once you have a few consistent batches under your belt.
As a general rule for home roasting equipment, home enthusiasts should prioritize ventilation, cooling, logging, and washed beans for the most forgiving learning environment. Rapid cooling is especially important because beans continue to develop heat after you drop them from the roaster. Every second counts.
Pro Tip: After roasting, rest your beans in an open container for the first 8-12 hours to off-gas CO2, then seal them in an airtight bag. This small step dramatically improves flavor clarity in the cup.
For more on improving your home roasting, consistency in your setup matters more than upgrading your gear.
Understanding the coffee roasting process and roast phases
With tools and beans at hand, let’s demystify what actually happens as green beans turn brown in your home roaster. Every roast moves through three distinct phases, and knowing what to expect in each one puts you in control.
The three roast phases:
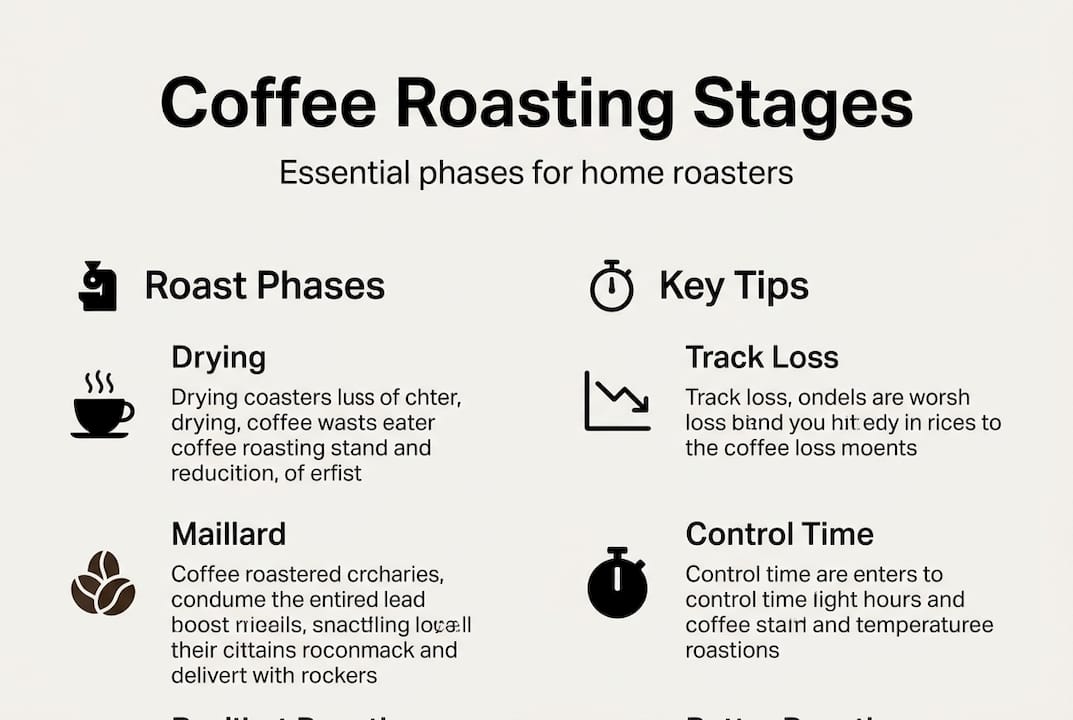
- Drying phase (roughly 4-8 minutes): Beans lose moisture. They turn from green to yellow. You’ll smell a grassy, hay-like aroma. No browning yet.
- Maillard phase (roughly 3-5 minutes): Sugars and amino acids react. Color shifts from yellow to light brown. Aromas become more complex, almost bread-like.
- Development phase (roughly 1-3 minutes): This is where flavor locks in. First crack signals the start. You’ll hear a popping sound, similar to popcorn. This phase should represent about 20% of your total roast time.
Research on roast color data confirms that drying takes 4-8 min, Maillard 3-5 min, development 1-3 min, with mass loss of 13-16% for light roasts and 16-19% for medium roasts.
Key variables to track:
| Variable | What it means | Target range |
|---|---|---|
| Rate of Rise (RoR) | How fast temp climbs per minute | Smooth, declining curve |
| Development Time Ratio (DTR) | Dev phase as % of total roast | 15-25% |
| Weight loss | Moisture and mass lost | 13-19% depending on roast |
| End color | Lightness of finished bean | Agtron 60-70 for light |
For a deeper look at how these variables interact, check out coffee roast profiles and how they shape flavor. If you’re aiming for a specific style, the medium roast guide and dark roast guide break down what each level requires. These coffee roasting tips will help you connect the theory to your actual results.
Step-by-step: How to roast coffee at home for optimal results
With theory in place, it’s time to follow a proven step-by-step process to roast delicious coffee at home.
- Preheat your roaster to your target charge temperature (typically 180-200°C for most home drum roasters). Let it stabilize for at least 5 minutes.
- Charge the beans by adding your measured green coffee. A 250g batch is a good starting point for most home roasters.
- Monitor the drying phase. Watch for color change and aroma shift. Keep your RoR smooth and declining, not spiking.
- Enter the Maillard phase. Reduce heat slightly to avoid scorching. Aromas will shift from grassy to toasty.
- Listen for first crack. This signals the start of your development phase. Note the exact time.
- Track your DTR. If your total roast is 10 minutes, your development phase should be 1.5 to 2.5 minutes for a 15-25% DTR.
- Drop the beans at your target color or temperature. For a light roast, this is typically around 205-210°C.
- Cool immediately. Spread beans on a cooling tray and stir constantly. You want them below 40°C within 4-5 minutes.
- Log everything. Time, temps, RoR, weight in, weight out, and your sensory notes.
According to roast profile tips, RoR, DTR 15-25%, and weight loss 12-20% are the core metrics that define a repeatable, quality roast profile.
A roast that ends at Agtron 60-70 with a 20% DTR and 14% weight loss is a reliable baseline for light-roasted single origins. Start here, then adjust based on taste.
Pro Tip: Weigh your beans before and after every roast. Weight loss percentage is one of the most reliable indicators of roast level, even without a color meter.
For more on roasting for flavor and why small batch roasting gives you more control, those resources will fill in the gaps.
How to spot and fix common roast defects
To ensure every batch shines, it’s critical to troubleshoot and fix common issues you’ll face along the way.
Common defects and how to fix them:
- Scorching: Burnt patches on the bean surface. Caused by too-high charge temperature. Fix: lower your preheat temp and increase airflow at the start.
- Tipping: Dark, burned tips on otherwise light beans. Caused by early heat spikes. Fix: reduce heat input in the first 2 minutes of the roast.
- Baking: Flat, sweetless, cardboard-like flavor. Caused by a slow or stalling RoR after the drying phase. Fix: maintain a steady, declining RoR throughout.
- Underdevelopment: Grassy, sour, or vegetal taste. Caused by too short a development phase. Fix: extend your DTR by 10-15 seconds and check your drop temperature.
- Overdevelopment: Bitter, smoky, or hollow flavor. Caused by too long a development phase or excessive end temperature. Fix: drop earlier and cool faster.
Research on roast defect troubleshooting confirms that scorching, tipping, baking, and underdevelopment all trace back to specific heat and airflow mistakes that are fixable with targeted adjustments.
Never copy a roast profile blindly from another roaster. Dense, high-moisture beans need a slower start and more heat in the Maillard phase. Always adjust for the specific bean you’re working with.
Dense or high-altitude beans from origins like single origin coffee farms in Ethiopia or Guatemala often need more time in the drying phase. Don’t rush them.
Pro Tip: Make one change per batch. If you adjust both heat and airflow at the same time, you won’t know which variable made the difference.
How to evaluate and dial in your coffee roast
After roasting and cooling, how do you know if you’ve hit the mark and how can you get even better next time?
- Rest your beans first. Don’t brew immediately. Wait at least 3 days. Beans continue to off-gas CO2 after roasting, and brewing too early produces a dull, muted cup. Research confirms that resting 3-14 days significantly improves cup quality.
- Do a simple cupping. Grind 11g of coffee coarse, add 200ml of water just off the boil, wait 4 minutes, and taste. This is the most neutral way to evaluate a roast without brewing variables.
- Compare your color. Hold your cooled beans next to a reference card or Agtron tile. Consistent color across the batch means even development. Patchy color means airflow or heat distribution issues.
- Review your log. Compare this batch to your last one. What changed? What improved? What stayed the same?
- Taste for specific defects. Sour and grassy means underdeveloped. Bitter and flat means overdeveloped. Sweet, clean, and complex means you’re on track.
A key insight from evaluating home roasts is that color in Lab* space is a universal roast indicator regardless of origin or profile, which means your color checks are always meaningful data points.
For more ways to sharpen your process, improving technique through consistent logging and tasting is the fastest path to repeatability.
The biggest myth about home coffee roasting (and what really matters)
Here’s the uncomfortable truth: most beginner guides push you toward better gear when what you actually need is a better mindset.
We’ve seen home roasters spend hundreds of dollars upgrading their drum roaster before they’ve logged even ten batches. The result? The same inconsistent cups, just with fancier equipment. The roaster is rarely the problem. The process is.
The home roasters who improve fastest are the ones who treat every batch as data. They log obsessively, taste critically, and change one variable at a time. They don’t copy profiles from online forums. They understand why a profile works, so they can adapt it to their specific beans and environment.
Mistakes aren’t failures in home roasting. A scorched batch teaches you more about charge temperature than any article ever could. A baked roast will make you respect RoR in a way that no video explains.
We believe learning in small batches is the most powerful tool a home roaster has. Small batches mean more iterations, more data, and faster growth. Curiosity and patience will take you further than any gadget upgrade.
Roast better coffee at home with Adira Coffee
Ready to put this into practice with beans worth roasting? At Adira Coffee, we work with around 50 ethically sourced farms across Colombia, Ethiopia, Costa Rica, Guatemala, Brazil, and Sumatra so you always have access to exceptional green and roasted coffee.
Our shop coffee beans collection includes washed single origins that are ideal for home roasters building their skills. If you want to start with something approachable and flavorful, our Colombian beans are a great first choice. Pair your beans with the roasting resources on our blog and you have everything you need to keep improving, one batch at a time.
Frequently asked questions
What is the ideal development time ratio (DTR) for home roasting?
For most beans, aim for a DTR of 15-25% of your total roast time. This range gives you enough development for sweetness without pushing into bitterness.
How much weight should coffee beans lose during roasting?
Light roasts lose 13-16% of their mass, while medium roasts lose 16-19%. Weighing before and after every batch is one of the simplest ways to track roast level.
How long should roasted beans rest before brewing?
Rest your home-roasted beans for at least 3 days, and up to 14 days for peak flavor. Resting 3-14 days allows CO2 to off-gas and lets the flavor fully settle.
What’s the fastest way to cool roasted coffee beans after roasting?
Use a dedicated cooling tray or a fan-assisted colander to drop bean temperature quickly. Rapid cooling prevents overdevelopment and locks in the flavors you worked to build.
How can I avoid common roast defects like tipping and scorching?
Keep your heat input steady and moderate, especially in the first two minutes of the roast. Steady heat and airflow are the two most effective controls for preventing surface defects.