
TL;DR:
- Coffee flavor degrades quickly after roasting, with peak freshness between days 4 and 14.
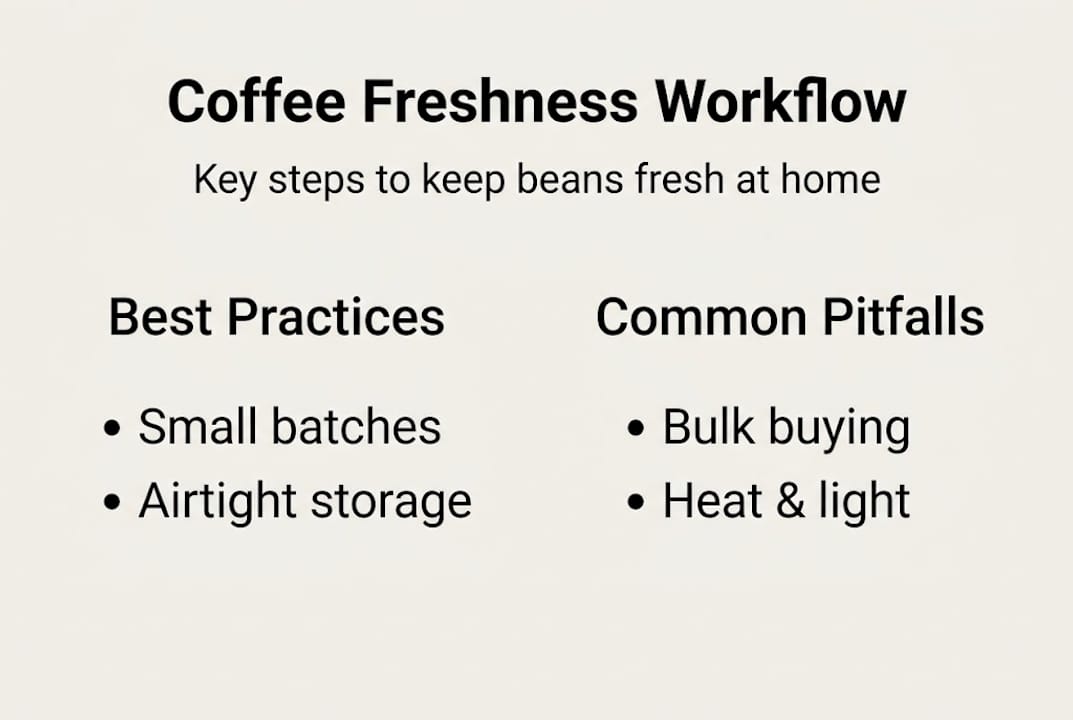
- Proper storage, such as airtight containers and grinding just before brewing, preserves freshness.
- Building a consistent freshness workflow enhances coffee quality more than expensive equipment alone.
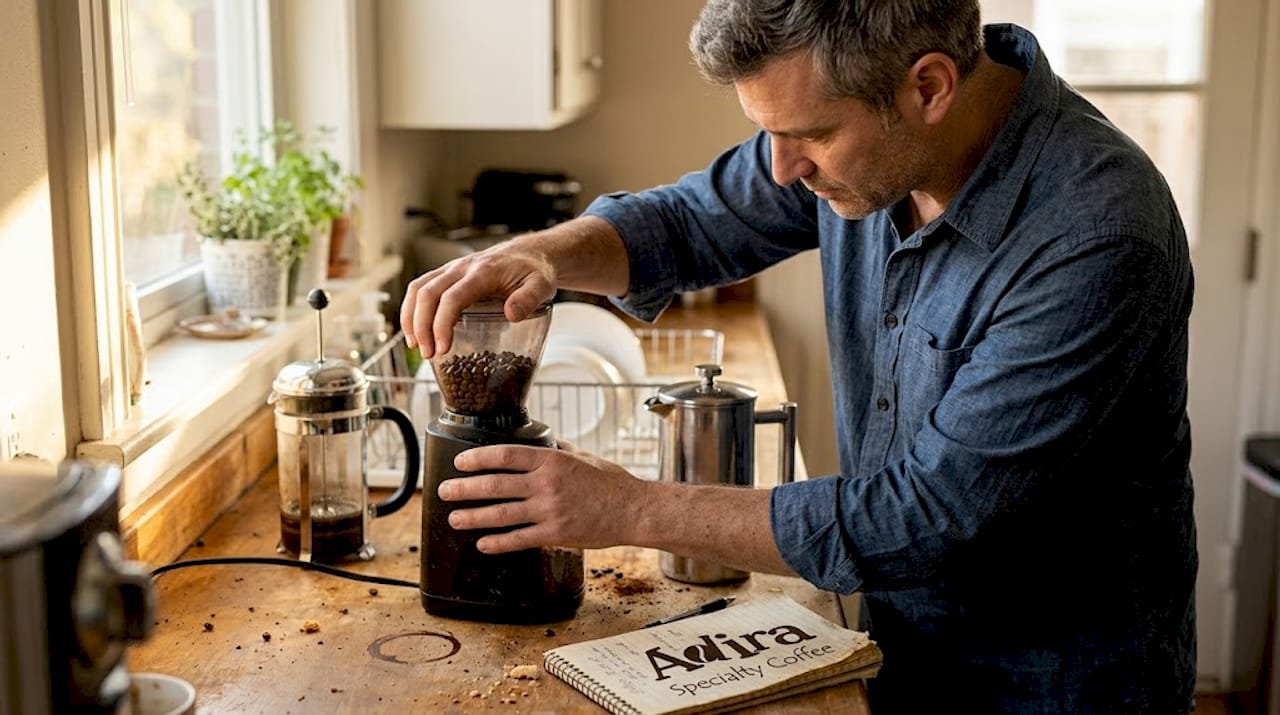
You open a new bag of specialty coffee, take a deep breath, and it smells incredible. Then two weeks pass. You brew the same beans, same recipe, and the cup tastes flat, almost papery. The beans didn’t change. Your technique didn’t change. Your freshness workflow did. Getting the most from premium coffee isn’t just about buying good beans. It’s about building a consistent process from roast date to final pour. This guide walks you through every stage of a practical home freshness workflow so you can stop guessing and start tasting coffee the way it was meant to be.
Table of Contents
- Understanding coffee freshness: Why it matters
- Freshness workflow setup: Tools and requirements
- Step-by-step: The ultimate home coffee freshness workflow
- Troubleshooting: Common mistakes and flavor loss
- Verifying freshness: Tasting and adjusting your workflow
- Our perspective: Why most home coffee lovers get freshness wrong
- Take your coffee to the next level with Adira
- Frequently asked questions
Key Takeaways
| Point | Details |
|---|---|
| Freshness is critical | The best coffee flavor and aroma only happen with fresh beans and careful workflow. |
| Right tools matter | Use a burr grinder and airtight containers to preserve coffee quality. |
| Workflow over gear | A consistent freshness routine outperforms expensive equipment alone for great taste. |
| Avoid common mistakes | Simple errors like bad storage or pre-grinding destroy coffee’s character fast. |
Understanding coffee freshness: Why it matters
Coffee is alive after roasting. Not literally, but chemically. The roasting process unlocks hundreds of volatile aromatic compounds that give coffee its brightness, sweetness, and depth. These compounds don’t stick around forever. In fact, up to 70% of aroma compounds can dissipate within two weeks post-roast, which means timing your brew matters as much as your technique.
The four main enemies of freshness are oxygen, moisture, light, and time. Oxygen triggers oxidation, which dulls the bright, lively notes in your cup. Moisture invites mold and speeds up staling. Light breaks down aromatic compounds. And time, of course, works against all of them simultaneously. Understanding the importance of coffee freshness is the first step to protecting what you paid good money for.
Here’s what happens to flavor over a typical post-roast timeline:
- Days 1 to 3: Beans are still degassing carbon dioxide and may taste slightly harsh or unbalanced.
- Days 4 to 14: Peak flavor window. Sweetness, acidity, and aroma are at their most vibrant.
- Days 15 to 30: Noticeable decline in brightness. Still drinkable, but not at its best.
- Day 30 and beyond: Flat, stale, and often bitter regardless of brew method.
Many home baristas blame their technique when flavor drops. They adjust grind size, water temperature, or brew ratio. But the culprit is often the beans themselves. Stale coffee can’t be fixed with technique alone. If you’ve been choosing coffee beans carefully but still get mediocre cups, freshness is where to look first.
“Great beans deserve great timing. Freshness is your most powerful brewing tool.”
The good news is that protecting freshness is a learnable skill. You don’t need expensive equipment or a professional background. You need a solid workflow and the discipline to follow it.
Now that we’ve set the stage for why freshness is everything, let’s look at what tools and steps you’ll need to keep your coffee at its peak.
Freshness workflow setup: Tools and requirements
Before you can protect freshness, you need the right foundation. That means the right gear and a smart approach to sourcing. The benefits of whole bean coffee are real: whole beans stay fresh longer and deliver a richer flavor experience than pre-ground, because grinding dramatically increases surface area exposed to oxygen.
Here’s a comparison of the core tools you’ll want in your freshness workflow:
| Tool | Budget option | Upgraded option | Why it matters |
|---|---|---|---|
| Grinder | Blade grinder | Burr grinder | Consistency and minimal heat |
| Storage container | Mason jar | Airtight canister with CO2 valve | Reduces oxygen exposure |
| Air removal | Resealable bag | Vacuum pump container | Extends freshness window |
| Scale | Kitchen scale | Coffee-specific scale | Precision in dose and batch size |
For a minimum home freshness setup, you’ll want:
- A burr grinder for even particle size
- An airtight, opaque container for storing coffee beans away from light
- A kitchen scale to track batch sizes accurately
- Access to a reliable roaster with clearly printed roast dates
Where you buy matters just as much as how you store. Look for roasters who print the actual roast date on the bag, not just a “best by” date. Roasters who ship within days of roasting give you the most lead time inside that 4 to 14 day peak window. Buying locally or subscribing to a small-batch roaster ensures you’re getting beans close to their freshest state.
Buying in small batches every one to two weeks is smarter than buying in bulk. A large bag left open for three weeks costs you more in flavor than you save in price.
Pro Tip: Invest in a burr grinder if you haven’t already. Unlike blade grinders, burr grinders produce uniform particle sizes without generating heat that accelerates flavor loss before the beans even hit water.
With the essentials gathered, let’s walk through each step of the optimal freshness workflow.
Step-by-step: The ultimate home coffee freshness workflow
A repeatable process is what separates a great cup from a lucky one. Here’s how to build yours from delivery to final brew.
- Record the roast date. The moment your beans arrive, note the roast date. This is your freshness clock. Anything beyond 30 days should be considered a last resort.
- Decide your batch size. Measure out only what you’ll drink within 7 to 10 days. Split the rest into separate containers immediately.
- Store correctly from day one. Place beans in an airtight, opaque container at room temperature, away from heat sources and direct sunlight. Good coffee storage techniques can extend peak freshness by up to 50%.
- Grind just before brewing. This is non-negotiable. Pre-grinding even 30 minutes in advance noticeably dulls flavor. Grind only what you’ll brew immediately.
- Track your brew results. Use a simple notebook to log roast date, dose, grind size, and tasting notes. Over time, you’ll see exactly when your specific beans hit their sweet spot.
Here’s a quick reference for freshness windows by stage:
| Workflow stage | Ideal duration | Freshness impact |
|---|---|---|
| Post-roast rest | Days 1 to 3 | Allows degassing |
| Peak brew window | Days 4 to 14 | Maximum flavor and aroma |
| Acceptable window | Days 15 to 30 | Declining but usable |
| Beyond 30 days | Past 30 days | Stale, significant flavor loss |
For identifying fresh coffee in the bag before you even brew, look for a strong fragrance when you first open it and a visible bloom (bubbles rising) when hot water hits the grounds. These are signs CO2 is still present, a reliable freshness indicator.
Subscribing to a coffee delivery for freshness service that ships within 24 to 48 hours of roasting removes a huge variable from the equation. You know exactly when the clock started.
Pro Tip: Split fresh beans into two or three smaller airtight containers. Open only one at a time. This drastically reduces how often beans are exposed to air during daily use.
With the process in motion, it’s wise to understand and sidestep common pitfalls that can sabotage your workflow.
Troubleshooting: Common mistakes and flavor loss
Even dedicated home baristas fall into habits that quietly drain freshness. Missteps can lead to dull, flat coffee regardless of bean quality. Recognizing these patterns early saves a lot of disappointing cups.
The most common mistakes include:
- Leaving containers unsealed after each use, even briefly. Every second of air exposure counts.
- Storing beans near heat sources like ovens, toasters, or direct sunlight, which dramatically accelerates staling.
- Grinding coffee in advance and leaving it in an open bowl or container for hours before brewing.
- Buying too much at once and letting half a bag go stale before it’s used.
- Skipping the roast date check and brewing beans that are already past their peak without realizing it.
So how do you know if your coffee has already turned? Stale coffee has a woody, cardboard-like aroma instead of a rich, inviting scent. In the cup, it tastes flat, hollow, or overly bitter without any sweetness behind it. Fresh coffee blooms vigorously when you pour hot water over it. Stale coffee barely reacts.
“Even the best beans lose their spark without mindful handling.”
For each of these errors, the fix is straightforward. Reseal containers immediately after every use. Move your storage spot away from any appliance that generates heat. Grind on demand, always. Buy smaller quantities more frequently. And always read the roast date before buying or brewing.
If you want to refine your palate for identifying flavor loss, brew two cups side by side: one with fresh beans inside the peak window, one with beans past 30 days. The difference is immediate and educational. Use that contrast as your personal calibration tool. Pairing this habit with solid coffee brewing tips sharpens your overall technique significantly.
Recognizing these missteps is step one. But how do you know your workflow is working? Let’s verify your results.
Verifying freshness: Tasting and adjusting your workflow
Building a workflow is only valuable if you check whether it’s actually working. Sensory evaluation is your most honest feedback tool. You don’t need formal training. You need attention and consistency.
Here’s a simple tasting process to verify freshness at home:
- Smell the dry grounds. Before brewing, hold the ground coffee close and inhale. Fresh coffee should smell complex, almost sweet, with distinct origin notes.
- Observe the bloom. Pour just enough hot water to saturate the grounds and wait 30 seconds. A strong, domed bloom means CO2 is present and the coffee is fresh.
- Taste for brightness. Take your first sip and note whether there’s any brightness or acidity. Flat, one-dimensional flavor signals staleness.
- Compare batches over time. Identifying quality beans by smell, visual cues, and flavor is essential for ongoing improvement. Track how your cups evolve from day 4 to day 14 to develop a real feel for the freshness curve.
If your results fall short, consider these adjustments. Try sourcing from a roaster with faster shipping. Reduce your batch size so beans are consumed faster. Switch to a container with a one-way CO2 valve that lets degassing gas escape without letting oxygen in. And revisit your grind timing. Even shaving five minutes off the gap between grinding and brewing makes a measurable difference.
Environmental shifts matter too. In humid summer months, moisture becomes a bigger threat. In dry winters, beans may stale slightly slower. Adjusting your storage approach with the seasons keeps your workflow tuned to real conditions rather than a fixed formula. Using brewing tips alongside your freshness observations creates a feedback loop that keeps improving over time.
Pro Tip: Keep a small tasting notebook with each bag. Write down the roast date, origin, day you opened it, and a one-line flavor note every few days. After a few months, you’ll have a personal freshness map that no generic guide can replicate.
With hands-on experience and tools for refinement, let’s step back for some bigger-picture perspective.
Our perspective: Why most home coffee lovers get freshness wrong
Here’s what we’ve observed after working with dozens of farms and thousands of customers: people obsess over gear and origins, but skip the workflow entirely. Someone will spend $400 on a grinder and then store their beans in a clear glass jar next to the stove. The grinder is irrelevant at that point.
The real shift happens when you stop treating freshness as a single action and start treating it as a daily ritual. It’s not about the container you buy once. It’s about the habit of resealing immediately, grinding on demand, and tracking roast dates automatically.
Workflow consistency delivers more flavor than expensive equipment alone. A burr grinder and basic airtight container used with discipline will outperform a premium setup used carelessly every time.
We also believe that supporting local roasters keeps your supply fresher and more ethical. Shorter supply chains mean less time sitting in warehouses. It’s a practical and principled choice.
Treat freshness as a daily ritual. The real difference is in your routine.
Take your coffee to the next level with Adira
At Adira Coffee, we roast in small batches and ship quickly so your beans arrive inside that peak flavor window. Every bag comes with a clear roast date because we believe you deserve to know exactly what you’re brewing.
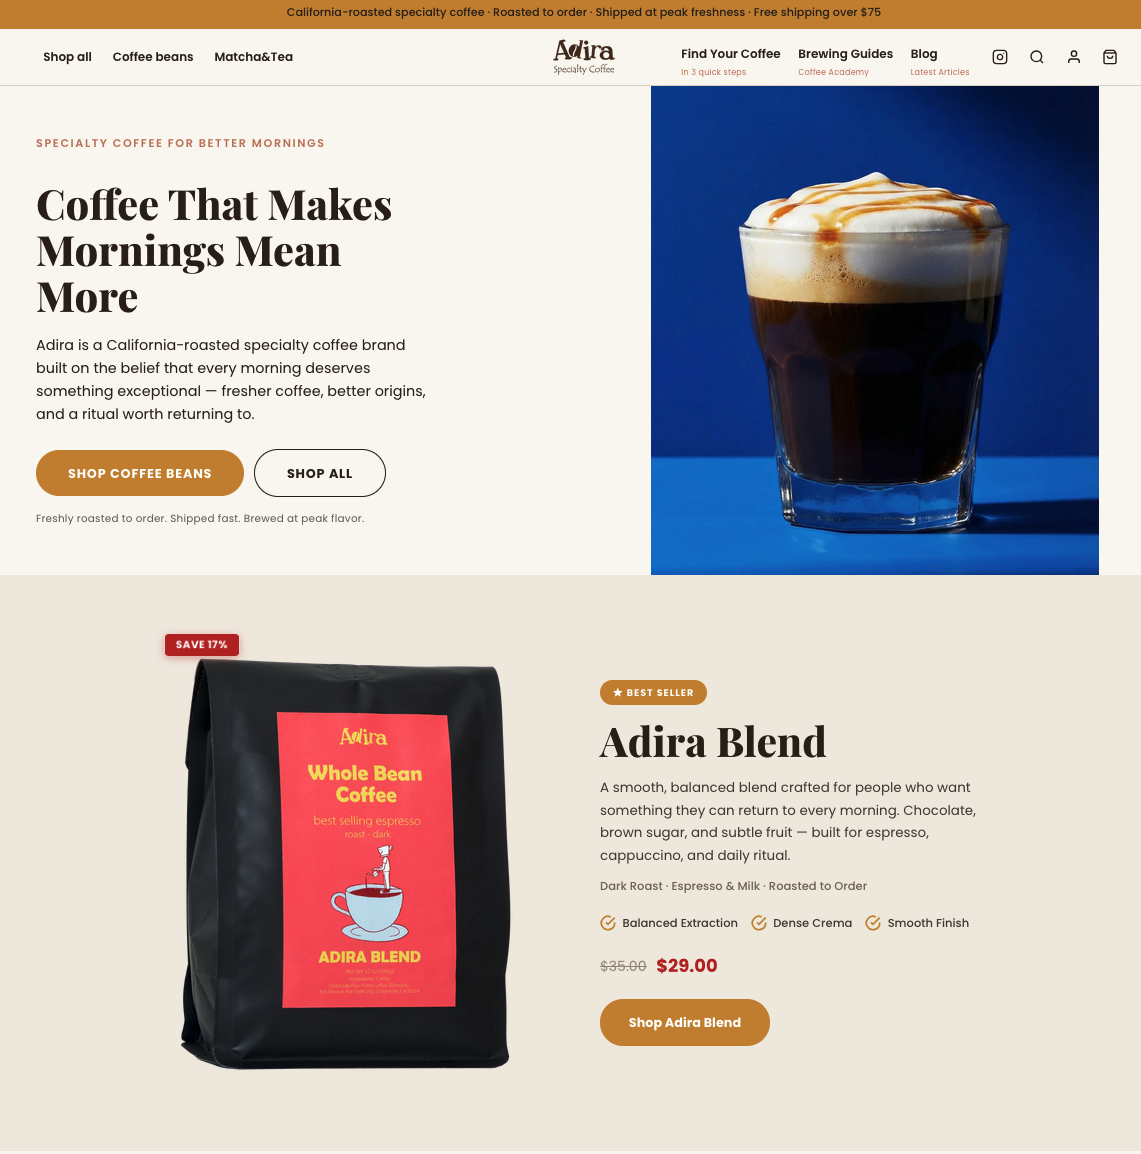
Whether you’re ready to try our Colombia coffee beans or explore the full range of single-origins we’ve curated from 50 farms worldwide, we’ve made it easy to start your coffee journey with freshness built in from the first step. Visit the Adira Coffee homepage to find your next bag, browse brewing guides, and discover a subscription plan that keeps fresh coffee arriving right when you need it.
Frequently asked questions
How long do coffee beans stay fresh after roasting?
Coffee beans remain freshest for 1 to 2 weeks after roasting, though proper storage can preserve good flavor for about a month. Freshness peaks within two weeks post-roast and declines quickly after that.
Is it better to buy whole bean or pre-ground coffee for freshness?
Whole bean is significantly better for freshness because grinding multiplies the surface area exposed to oxygen. Whole beans hold flavor longer than pre-ground coffee in every storage condition.
What’s the best way to store coffee at home?
Store beans in an airtight, opaque container at room temperature, away from light, heat, and moisture. Proper storage preserves both coffee’s flavor compounds and aroma for as long as possible.
How can I tell if my coffee is no longer fresh?
Stale coffee smells woody or flat and tastes hollow without any brightness or sweetness. Scent and taste are the most reliable real-time indicators of whether your beans are still worth brewing.
Recommended
- Master the cold brew coffee workflow: perfect home brewing – Adira Coffee US
- How to identify fresh coffee for best flavor at home – Adira Coffee US
- Expert coffee brewing tips for better flavor at home – Adira Coffee US
- How to store coffee beans for maximum freshness – Adira Coffee US
- Master Eco-Conscious Coffee Making Workflow for Sustainability – EcoVibe Roast