
Making delicious cold brew coffee at home can feel frustrating when your results lack the smooth, balanced flavor you expect from a specialty cafe. Many home baristas struggle with inconsistent extraction, bitter aftertastes, or weak concentrate that disappoints after hours of waiting. This comprehensive guide walks you through a precise cold brew coffee workflow designed specifically for enthusiasts who value freshly roasted, ethically sourced specialty beans. You’ll learn the exact equipment, ratios, timing, and techniques professional baristas use to create exceptional cold brew concentrate every single time, transforming your home brewing from guesswork into a reliable, repeatable process.
Table of Contents
- Key takeaways
- Gathering what you need: equipment and ingredients
- Step-by-step cold brew coffee workflow
- Common pitfalls and how to get the best flavor
- Explore premium coffee for your cold brew
- Frequently asked questions
Key Takeaways
| Point | Details |
|---|---|
| Coarse grind required | Use a burr grinder to achieve a consistent coarse grind for steady extraction in cold brew. |
| Steep 12 to 18 hours | Coarsely ground coffee should steep in cold water for about 12 to 18 hours to develop smooth, balanced flavor. |
| Ratio 1 to 8 | Aim for roughly 100 grams of coffee to 800 grams of water to make a concentrate suitable for later dilution. |
| Double filtration | Double filtering through a fine mesh or cheesecloth removes fines for a cleaner, smoother concentrate. |
| Quality water matters | Use filtered water with moderate minerals around 75 to 150 ppm to support proper extraction and flavor. |
Gathering what you need: equipment and ingredients
Successful cold brew starts with assembling the right tools and selecting quality ingredients. Unlike hot brewing methods that can mask defects with heat, cold extraction reveals every nuance of your coffee beans, making equipment precision and ingredient quality critical.
The standard workflow includes glass jar, scale, burr grinder, cheesecloth/mesh, and paper filter for optimal cold brew. Your essential equipment list includes a large glass jar or container (at least 2 quarts), a digital scale accurate to 1 gram, a burr grinder for consistent particle size, a fine mesh strainer or cheesecloth, and paper coffee filters for final clarification. Glass containers work better than plastic because they don’t absorb oils or odors that can affect flavor in subsequent batches.
For ingredients, freshly roasted specialty coffee beans make the biggest difference in your final cup quality. Medium-dark roasts work exceptionally well for cold brew because they develop chocolate, caramel, and nutty flavors that shine through the gentle extraction process. Light roasts often taste muted and tea-like when cold brewed, lacking the body and richness most people expect. Check out our comprehensive brewing guides for more details on selecting beans that match your flavor preferences.
The recommended coffee-to-water ratio sits at approximately 1:8 by weight, meaning 100 grams of coffee to 800 grams of water. This ratio produces a concentrate you’ll dilute before drinking, giving you flexibility to adjust final strength. Some brewers prefer slightly stronger ratios like 1:7 or weaker ones like 1:10, but 1:8 provides an excellent starting point for experimentation.
Water quality matters more than many home brewers realize. Filtered water with moderate mineral content between 75-150 parts per million creates ideal extraction conditions. Distilled water tastes flat because it lacks minerals that help extract flavor compounds, while heavily mineralized water can introduce off-flavors. If your tap water tastes good for drinking, it will likely work well for cold brew.
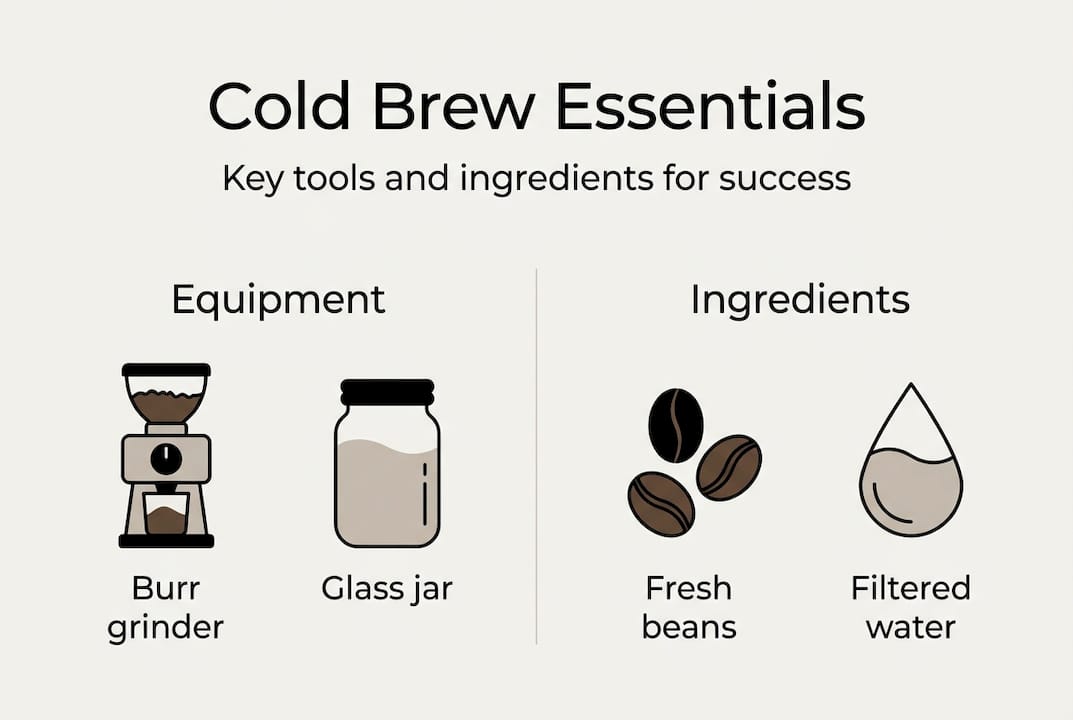
| Tool | Purpose | Key Feature |
|---|---|---|
| Glass jar/container | Steeping vessel | Non-reactive, odor-free |
| Digital scale | Precise measurement | 1-gram accuracy |
| Burr grinder | Consistent grind | Uniform particle size |
| Mesh strainer | First filtration | Removes grounds |
| Paper filters | Final filtration | Eliminates fines |
| Filtered water | Extraction medium | 75-150 ppm minerals |
Pro Tip: Invest in a quality burr grinder rather than a blade grinder. Blade grinders create uneven particle sizes that extract at different rates, producing muddy, bitter cold brew. Burr grinders deliver the consistent coarse grind essential for smooth extraction. Learn more about grinding coffee beans for different brewing methods.
Step-by-step cold brew coffee workflow
With your equipment assembled and ingredients ready, you’re prepared to execute the cold brew process. Following these precise steps ensures consistent results batch after batch, eliminating the guesswork that leads to disappointing brews.
The standard workflow is weighing grounds at 1:8 ratio, saturating evenly, steeping 12-18h in fridge, double filtering, diluting 1:1 for serving. Start by measuring your coffee beans using your digital scale. For a typical batch, weigh 150 grams of whole beans and grind them to a coarse consistency resembling raw sugar or sea salt. Immediately after grinding, add the grounds to your clean glass container to preserve freshness and aromatic compounds.
Next, measure 1,200 grams of filtered water (maintaining that 1:8 ratio) and pour it over the grounds in a circular motion. This initial pour should wet all the coffee evenly, preventing dry pockets that won’t extract properly. Use a clean spoon to gently stir the mixture for about 30 seconds, ensuring complete saturation. You’ll notice the grounds initially float before becoming fully saturated and sinking.
Cover your container with a lid or plastic wrap and place it in the refrigerator. Steeping at refrigerator temperature around 4°C for 14-16 hours balances optimal extraction with food safety. Cold temperatures slow bacterial growth while still allowing water to dissolve the desirable flavor compounds from the coffee. Some recipes suggest room temperature steeping, but refrigeration provides more consistent results and reduces contamination risk.
After the steeping period, begin the filtration process. First, strain the mixture through your mesh strainer or several layers of cheesecloth into a clean container, removing the bulk of the grounds. This initial filtration takes about 5 minutes as gravity pulls the liquid through. Then, perform a second filtration by running the strained liquid through a paper coffee filter. This step removes fine particles and oils that create cloudiness and sediment, resulting in a crystal-clear cold brew concentrate with exceptional clarity.
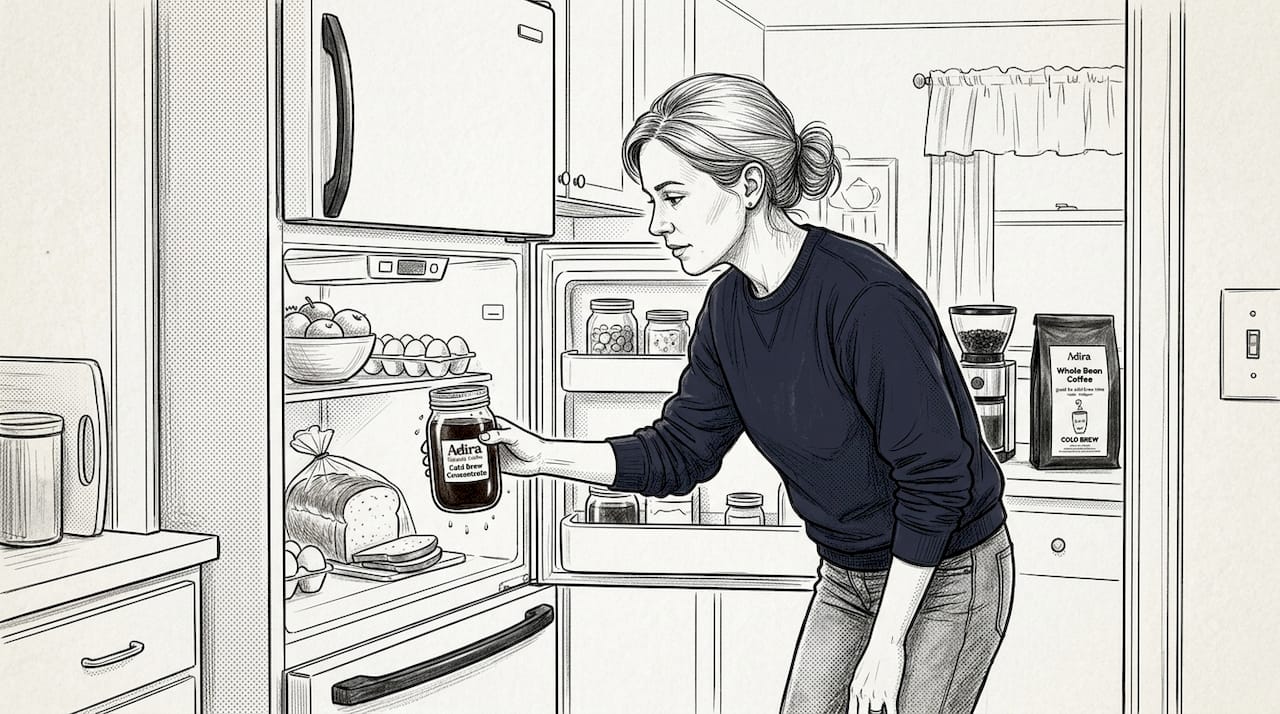
Store your finished concentrate in a sealed glass container in the refrigerator for up to two weeks. When ready to drink, dilute the concentrate 1:1 with water, milk, or a non-dairy alternative. This dilution brings the coffee to a pleasant drinking strength while allowing you to customize each serving. Pour over ice and enjoy the smooth, naturally sweet flavor profile that makes cold brew so appealing.
| Steeping Method | Pros | Cons | Best For |
|---|---|---|---|
| Refrigerator (4°C) | Consistent extraction, safer, longer shelf life | Requires fridge space, slightly longer steep | Most home brewers |
| Room temperature (20-22°C) | Faster extraction, no fridge needed | Higher bacteria risk, less consistent | Experienced brewers |
| Hybrid (start room, finish fridge) | Balanced extraction speed and safety | More complex process | Advanced experimentation |
Pro Tip: Test different steep times to dial in your flavor preference. Start with 14 hours, then try 12-hour and 16-hour batches to discover which extraction window produces the taste profile you enjoy most. Keep detailed notes on each batch including bean origin, roast date, grind setting, and steep time to replicate your best results. Understanding choosing coffee beans helps you select varieties that shine in cold brew applications.
Common pitfalls and how to get the best flavor
Even experienced home brewers encounter challenges when making cold brew. Understanding common mistakes and how to avoid them elevates your results from good to exceptional, ensuring every batch delivers the smooth, balanced flavor you’re seeking.
Over-steeping represents one of the most frequent errors. Leaving grounds in contact with water beyond 24 hours extracts undesirable bitter and astringent compounds that create harsh, unpleasant flavors. While cold extraction proceeds slowly, it never stops, and excessive contact time crosses from optimal extraction into over-extraction territory. Stick to the 12-18 hour window for best results, and set a timer so you don’t forget about your brew.
Grind size dramatically impacts your final cup quality. Using too fine a grind causes the coffee to clump together, creating channels where water flows around rather than through the grounds. This uneven extraction produces simultaneously weak and bitter flavors. Fine grounds also pass through mesh strainers more easily, creating cloudy, sediment-filled concentrate that tastes muddy. Always use a coarse grind that allows water to flow freely around each particle.
Research shows that roast level more impactful than temperature/time; medium-dark roasts bring chocolate and nutty flavors best suitable for cold brew. Light roasts, while excellent for hot brewing methods that highlight acidity and floral notes, often taste flat and underwhelming when cold brewed. The gentle extraction doesn’t pull out the delicate aromatics that make light roasts special, leaving you with a thin, sour beverage. Medium-dark roasts develop fuller body and richer flavors that translate beautifully to cold brew.
The roast level you choose influences cold brew flavor more significantly than brewing temperature or time. Medium-dark roasts consistently produce the chocolate, caramel, and nutty notes that define exceptional cold brew, while lighter roasts often disappoint with muted, tea-like characteristics.
Water temperature confusion leads some brewers to use ice-cold or even partially frozen water, thinking colder equals better. Actually, water between 4-10°C extracts efficiently while maintaining food safety. Extremely cold water slows extraction too much, requiring impractically long steep times. Room temperature water works but increases bacterial growth risk and produces less consistent results across different ambient temperatures.
Dilution mistakes ruin otherwise perfect concentrate. Some brewers drink the concentrate undiluted, experiencing an overwhelming, bitter punch that misrepresents cold brew’s true character. Others dilute too much, creating weak coffee that lacks body and flavor intensity. Start with 1:1 dilution and adjust based on personal preference, keeping in mind that cold brew should taste smooth and naturally sweet, not harsh or watery. Explore our small batch roasting guide to understand how roasting techniques affect final flavor.
Pro Tip: When troubleshooting flavor issues, change only one variable at a time. If your brew tastes bitter, don’t simultaneously adjust grind size, steep time, and ratio. Instead, reduce steep time by 2 hours in your next batch while keeping everything else constant. This systematic approach helps you identify which factor causes problems and builds your understanding of how each element influences flavor.
Common cold brew troubleshooting:
- Bitter taste: Reduce steep time to 12 hours or use a coarser grind
- Weak flavor: Increase coffee-to-water ratio to 1:7 or extend steep time to 16 hours
- Sour notes: Use darker roast beans or ensure complete saturation during initial pour
- Cloudy appearance: Improve filtration with finer mesh or additional paper filter passes
- Sediment in cup: Allow concentrate to settle before pouring or use coffee filter for serving
- Flat taste: Switch to fresher beans roasted within past 2-3 weeks
Explore premium coffee for your cold brew
Now that you’ve mastered the cold brew workflow, elevating your results comes down to ingredient quality. The beans you choose determine the ceiling of your brew’s potential, making sourcing decisions as important as technique.
Adira Coffee offers freshly roasted, ethically sourced specialty coffee beans specifically selected for their performance in cold brew applications. Our medium-dark roasts from renowned origins including Colombia, Ethiopia, Costa Rica, Guatemala, Brazil, and Sumatra develop the chocolate, caramel, and nutty flavor profiles that shine through gentle cold extraction. Each bag ships within days of roasting, ensuring you receive coffee at its peak flavor window when aromatic compounds remain vibrant and oils stay fresh.
For ultimate convenience without sacrificing quality, try our ready cold brew concentrate made using the same precise workflow detailed in this guide. We handle the measuring, steeping, and filtering, delivering concentrate that’s ready to dilute and enjoy immediately. This option works perfectly for busy mornings or when you want consistent results without the time investment.
Whether you’re brewing at home or enjoying our ready-made concentrate, you’re supporting ethical sourcing practices that benefit the 50 coffee farms we partner with across the globe. Visit Adira Coffee to explore our full selection and discover which origins best match your flavor preferences.
Frequently asked questions
What is the ideal coffee-to-water ratio for cold brew?
The ideal ratio is typically 1:8 coffee to water by weight, balancing strength and flavor extraction. This produces a concentrate you’ll dilute before drinking, giving flexibility to adjust final strength. Using a digital scale ensures consistency across batches, eliminating the guesswork that leads to disappointing results. For more detailed guidance on ratios and techniques, check our brewing guides.
How long should I steep cold brew coffee for optimal flavor?
Steeping between 12-18h refrigerated balances extraction and prevents bitterness. Most brewers find 14-16 hours hits the sweet spot, extracting desirable flavors while avoiding harsh compounds. Longer times beyond 24 hours risk astringency and over-extraction, while shorter periods under 12 hours may under-extract, producing weak, sour coffee.
Why is a coarse grind size important for cold brew?
Coarse grind prevents over-extraction and reduces cloudiness and sediment in cold brew. Coarse grounds extract more slowly during the long steep time, yielding smooth, balanced taste without harsh bitterness. Finer grinds cause clumping, create channels that prevent even extraction, and pass through filters more easily, resulting in muddy concentrate with unpleasant texture.
Can I use any coffee beans for cold brew?
While you can technically use any beans, medium-dark roasts produce the best cold brew results. These roasts develop chocolate, caramel, and nutty flavors that translate beautifully through gentle cold extraction. Light roasts often taste muted and tea-like when cold brewed, lacking the body and richness that define exceptional cold brew. Always choose freshly roasted beans within 2-4 weeks of their roast date for optimal flavor.
How long does cold brew concentrate last in the refrigerator?
Properly filtered and stored cold brew concentrate stays fresh for up to two weeks in a sealed glass container in the refrigerator. The concentrate’s shelf life exceeds regular brewed coffee because cold extraction produces lower acidity, creating an environment less favorable for bacterial growth. Always smell and taste a small amount before serving older concentrate, discarding any that smells off or tastes fermented.