
TL;DR:
- Focus on isolating grind size as your primary adjustment to achieve consistent, flavorful espresso shots.
- Managing grinder retention, static, and implementing single dosing significantly improve repeatability and clarity in brewing.
- Techniques like RDT and thorough cleaning, combined with attention to particle size distribution, elevate your coffee quality significantly.
You’ve sourced beautiful beans, dialed in your water temperature, and bought a solid brewer, yet your cup still tastes flat, bitter, or wildly inconsistent from one morning to the next. The culprit is almost never the beans themselves. It’s almost always grinder technique. Most home baristas overlook the small, repeatable habits that separate a mediocre grind from one that actually lets a great coffee shine. The tips below are evidence-backed, practical, and designed to help you stop wasting beans and start pulling shots you’re genuinely proud of.
Table of Contents
- Start with the right grind setting workflow
- Manage grinder retention for flavor clarity
- Reduce dialing-in waste with single dosing
- Beat static and clumping: RDT explained
- Clean your grinder for consistent excellence
- Why grind size consistency matters more than you think
- Ready to level up? Explore specialty beans and pro resources
- Frequently asked questions
Key Takeaways
| Point | Details |
|---|---|
| Isolate your grind adjustments | Change only one variable at a time for reliable, repeatable extraction. |
| Minimize grind retention | Reduce leftover grounds to preserve clarity and flavor in every cup. |
| Single dose for less waste | Weigh and grind only the beans you need to save coffee and ensure accuracy. |
| Tackle static for better results | Try the RDT technique to reduce mess and improve grind flow. |
| Clean regularly for best taste | Routine cleaning keeps your grinder working well and your coffee tasting fresh. |
Start with the right grind setting workflow
Before you touch dose, yield, or temperature, your grind size needs to be the one variable you move. This sounds obvious, but it’s the single most commonly violated rule in home espresso. When you change two things at once, you can’t know which one fixed the problem or caused a new one. Isolating grind size as your first and only adjustment creates a feedback loop you can actually learn from.
Here’s a practical workflow to dial in your grinder from scratch:
- Set your dose and yield targets first and lock them in. For espresso, a standard starting point is 18 grams in and 36 grams out, a 1:2 ratio.
- Pull a shot and time it. You’re aiming for the 25–30 second window that signals proper extraction at a 1:2 ratio.
- Taste the shot. Sour or weak usually means too coarse and under-extracted. Bitter or harsh means too fine and over-extracted.
- Adjust grind size by a small increment in one direction only. Do not touch dose or yield.
- Pull another shot and repeat until the taste and timing land where you want them.
- Write down your grind setting, dose, yield, and any flavor notes in a dedicated notebook or notes app.
That last step is where most people fall short. Memory is unreliable, especially when you’re half-awake and making your first coffee of the day. Keeping a written record means you can reproduce a great result or backtrack efficiently when something changes, like a new bag of beans or a different roast level.
“A practical way to set espresso grinder output is to change only grind when dialing in; keep dose, yield, and temperature fixed so you can attribute taste changes to grind size.” — Espresso Grind Size
Understanding how to grind coffee beans at the right size for your brew method is foundational, but the workflow around that grind is what makes results repeatable. Once you understand the science of coffee extraction, you’ll see why isolating variables isn’t just a best practice. It’s the only way to learn what your specific grinder and beans are actually doing.
Pro Tip: When you switch to a new bag of beans, especially one from a different origin or roast level, treat it like starting from scratch. A light Ethiopian natural and a medium Colombian washed coffee often need different grind settings even on the same machine.
Manage grinder retention for flavor clarity
Retention refers to the amount of ground coffee that stays inside your grinder after you’ve finished grinding. Even a gram or two of old grounds sitting in the grind chamber or chute can muddy your flavor and throw off your dose. You put 18 grams in and 17.3 grams land in your portafilter, but that 0.7 grams isn’t just a dosing inconvenience. It’s yesterday’s stale grounds from a different bean mixing into today’s fresh grind.
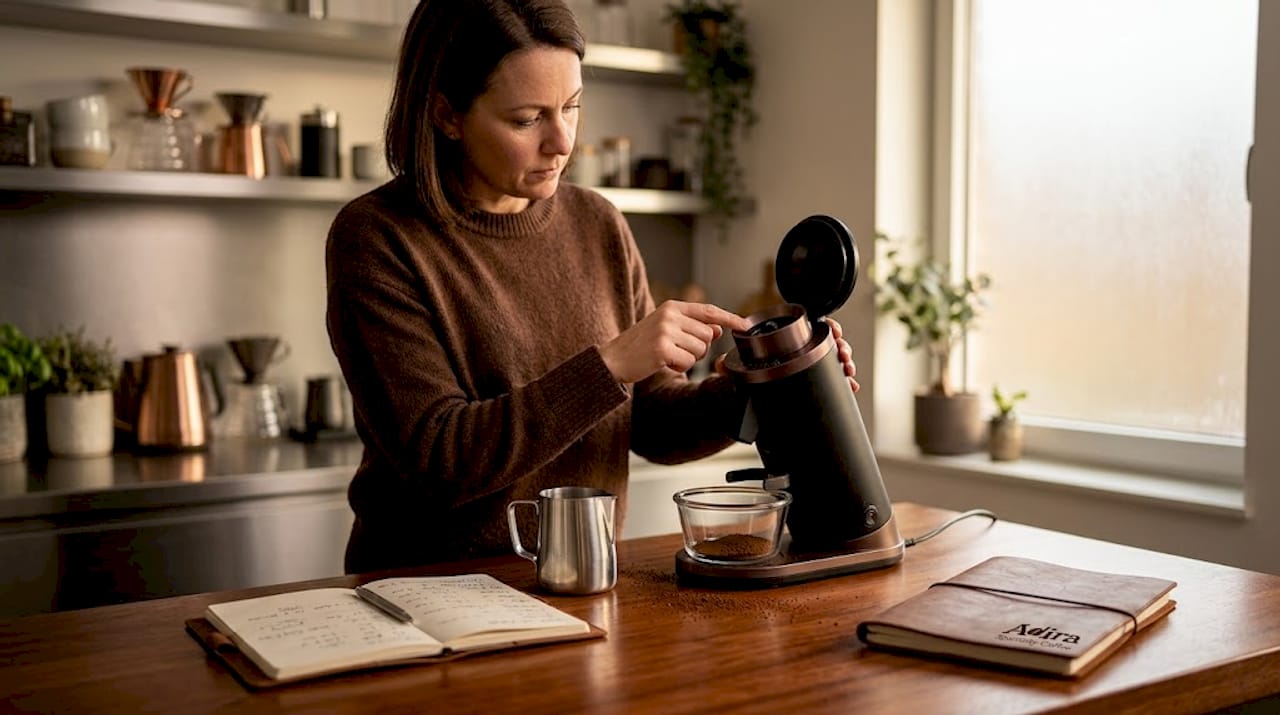
Grind retention directly impacts repeatability, clarity, and extraction consistency. High-retention grinders make it genuinely difficult to produce the same shot twice, because the effective dose changes each time.
Here’s how to minimize retention in your home setup:
- Tap or knock the grinder lightly after grinding to encourage grounds to fall forward through the chute.
- Use a grounds bin or dosing cup that fits snugly under the chute to catch stray grinds.
- Grind directly into the portafilter when possible, which shortens the path the grounds travel and reduces what gets left behind.
- Keep your grinder clean and dry. Oil buildup inside the chute creates sticky surfaces where fines cling.
| Grinder type | Typical retention | Practical action |
|---|---|---|
| Conical burr (home) | 0.5–2g | Tap grinder, grind into portafilter |
| Flat burr (prosumer) | 0.2–1g | Purge with 1–2g of beans after adjustments |
| Blade grinder | 2–5g | Replace with burr grinder for precision |
| High-end single-dose | Under 0.1g | Minimal action needed |
Pro Tip: After making a grind adjustment or switching coffee origins, purge a small, measured amount of beans, around 2 to 3 grams, before grinding your actual dose. This clears out the stale grounds sitting at the burr edges and gives you a cleaner, more accurate shot.
Building a coffee freshness workflow around freshly roasted beans is important, but none of that freshness makes it into your cup if retention is quietly undermining your work every morning.
Reduce dialing-in waste with single dosing
Single dosing is exactly what it sounds like. You weigh out precisely the amount of beans you need for one dose, pour them directly into an empty grinder, and grind everything in one go. No hopper, no leftover beans sitting in the chamber going stale overnight.
Avoiding unnecessary purges during the dialing-in process can save you significant amounts of coffee over time, and single dosing makes this far easier because you always know exactly what went in.
Here’s a simple single dosing workflow:
- Zero out a small scale with your dosing cup or a folded piece of paper on top.
- Weigh your beans to the exact gram, for example 18.0g.
- Pour them directly into the empty grinder hopper or chute.
- Grind everything and immediately distribute and tamp.
- Pull your shot and evaluate.
- Adjust grind size for the next dose if needed. There’s no purge necessary since the hopper is already empty.
| Method | Waste during dial-in | Freshness control | Workflow speed | Best for |
|---|---|---|---|---|
| Single dosing | Very low | Excellent | Slower prep | Precision, variety |
| Batch dosing (hopper) | Higher | Lower | Faster for volume | High-volume, single bean |
Single dosing shines when you’re rotating between different origins or roast levels, which is common when you’re buying from specialty roasters with seasonal offerings. It also forces you to pay attention to dose weight, which is a habit that pays off in shot consistency. Pair your technique with solid coffee brewing tips and you’ll notice the feedback loop between dose precision and cup quality becomes much tighter.
Beat static and clumping: RDT explained
Static electricity builds up inside your grinder during the grinding process, especially in low-humidity environments. It causes ground coffee to cling to the inside of the grinder, the chute, the portafilter, and basically everywhere except where you want it. The result is a messy counter, inaccurate dosing, and clumped grounds that distribute unevenly in the basket.
The Ross Droplet Technique, or RDT, is a simple fix. You add a single drop of water to your whole beans just before grinding. That’s it. The small amount of moisture dissipates static charge without meaningfully affecting the grind or flavor.
Here’s how to use RDT correctly and what to avoid:
- Use a spray bottle or a damp fingertip to apply one small drop of water to your beans before dropping them into the grinder.
- Don’t soak the beans. One drop is sufficient. Too much water can damage your burrs over time or cause clumping of a different kind.
- Stir the beans gently after adding the drop so the moisture is distributed across the batch, not concentrated on one bean.
- Avoid skipping RDT on very dry days or in air-conditioned rooms. Low humidity dramatically increases static and makes the problem worse.
Even a single drop of water added to beans before grinding can significantly reduce static retention and the mess that comes with it.
Pro Tip: Combine RDT with WDT (Weiss Distribution Technique) for a cleaner, more even puck. After grinding, use a thin WDT tool to stir and break up any clumps in the portafilter basket before tamping. Together, these two techniques take about 30 extra seconds and produce noticeably more even extractions.
If you’re serious about manual coffee brewing for filter methods like pour over or Aeropress, RDT also helps with funnel-based grinding setups where static causes grounds to scatter instead of falling cleanly.
Clean your grinder for consistent excellence
A dirty grinder is a flavor thief. Coffee oils go rancid within days at room temperature, and when those oils coat your burrs and grind chamber, every fresh batch picks up off-notes from the residue. Fines, the ultra-small coffee particles, also accumulate and eventually affect how the burrs cut through whole beans.
Here’s a practical cleaning schedule that doesn’t require a lot of time:
- After every use: Wipe down the outside, the chute, and any removable dosing cup with a dry cloth or soft brush.
- Weekly: Remove the top burr if your grinder allows it and brush out loose fines with a stiff cleaning brush. Run a grinder cleaning tablet if your model supports it.
- Monthly: Disassemble the burr set, brush thoroughly, and use a dry microfiber cloth to remove oil residue from all surfaces. Vacuum out fine particles from the grind chamber.
- Every 3 to 6 months: Check burrs for wear. Dull burrs produce more fines and uneven particle sizes, which translates directly to inconsistent extraction.
Warning: Never use water on burrs unless your grinder’s manufacturer explicitly states it is safe. Water causes rust on steel burrs and can leave a metallic taste that takes weeks of grinding to fully clear.
Leftover oils and fines don’t just affect flavor in isolation. They physically change how coffee grounds flow through the chute, increasing clumping and retention, which ties directly back to every other tip in this guide. Cleaning your grinder is the maintenance layer that keeps everything else working as intended. If you want more detail on the full equipment care routine, the guide on cleaning espresso machines covers related maintenance habits worth building into your workflow.
Why grind size consistency matters more than you think
Here’s the uncomfortable truth most grinder guides skip past: telling you to go “finer” or “coarser” is only half the picture. The real metric that separates a mediocre grinder from a great one is particle size distribution, meaning how uniform the ground particles are, not just how fine they are on average.
When your grinder produces a wide range of particle sizes, you get coarse chunks and ultra-fine dust in the same batch. The fines over-extract quickly and contribute bitterness. The coarse particles under-extract and add sourness. The result is a shot that tastes muddled, simultaneously bitter and thin, even if your average grind size is technically correct. Particle size distribution is now a primary metric in serious grinder testing for exactly this reason.
What’s worse, the secondary factors covered in this guide, static, retention, and poor distribution in the basket, can make this problem much harder to diagnose. You might be grinding at the perfect average size but still pulling inconsistent shots because retained fines from yesterday’s grind are mixing in, or because clumped grounds are creating uneven flow paths through your puck.
The practical takeaway is this: stop chasing grind size as if it’s the only lever. When your shots are inconsistent and you’ve already confirmed your grind setting is in the right range, look at your workflow before you change anything else. Are you managing retention? Is RDT eliminating clumping? Is your distribution in the basket actually even before you tamp? The science of coffee extraction makes it clear that grind uniformity and workflow discipline produce more reliable results than endlessly chasing the “perfect” grind number.
The best home baristas we’ve seen aren’t the ones with the most expensive grinder. They’re the ones who treat every step of the process with the same attention they give the beans themselves.
Ready to level up? Explore specialty beans and pro resources
Mastering your grinder technique is a game changer, but technique only goes as far as the quality of what you’re grinding. When you’ve dialed in your workflow, reduced retention, and started single dosing, you’ll immediately notice how much more flavor you’re able to pull from a truly great bean. That’s when sourcing starts to matter at a whole new level.

At Adira Coffee, we small-batch roast ethically sourced beans from around 50 farms across Colombia, Ethiopia, Costa Rica, Guatemala, Brazil, and Sumatra, and ship them at peak freshness so your grinder technique has the best possible raw material to work with. Our Colombian single origin beans are a favorite starting point for home baristas who want a clean, expressive coffee that rewards dialed-in technique. And if you want to keep building your skills, our detailed guide on perfect grind techniques covers everything from burr calibration to grind-by-weight workflows in one place.
Frequently asked questions
What is the best grind size for espresso?
A grind that produces a 25–30 second shot at a 1:2 ratio is the standard starting target for most espresso machines; dial finer if the shot runs too fast, coarser if it runs too slow.
How often should I clean my coffee grinder?
Most home baristas should brush out their grinder weekly and do a deeper burr cleaning at least once a month to prevent oil buildup and off-flavors from degrading shot quality.
What is grind retention and why does it matter?
Grind retention is the stale coffee left inside your grinder between uses; it creates inconsistent doses and muddies the flavor clarity of fresh beans by mixing old grounds into each new grind.
Can I use water to clean my burr grinder?
Avoid water on burrs unless the manufacturer explicitly says it’s safe, since moisture can rust steel burrs and leave a metallic flavor that’s difficult to fully remove.