
TL;DR:
- Dialing in an espresso grinder involves adjusting grind size to achieve a shot with a 1:2 brew ratio and extraction time of 25 to 30 seconds.
- The process requires controlling variables like dose, yield, and timing, using precise tools such as a digital scale and timer for consistency.
Dialing in an espresso grinder is the process of adjusting grind size and related parameters to produce a shot with balanced extraction, correct timing, and full flavor. The industry term for this is “dialing in,” and it applies every time you switch beans, open a new bag, or notice your shots tasting off. The core goal is a 1:2 brew ratio with extraction time between 25–30 seconds. Get those numbers right, and everything else follows. You need four variables under control: grind size, dose, yield, and time. Tools like a digital scale, a timer, and a tamper make the difference between guessing and knowing.
How to dial in your espresso grinder: what you need first
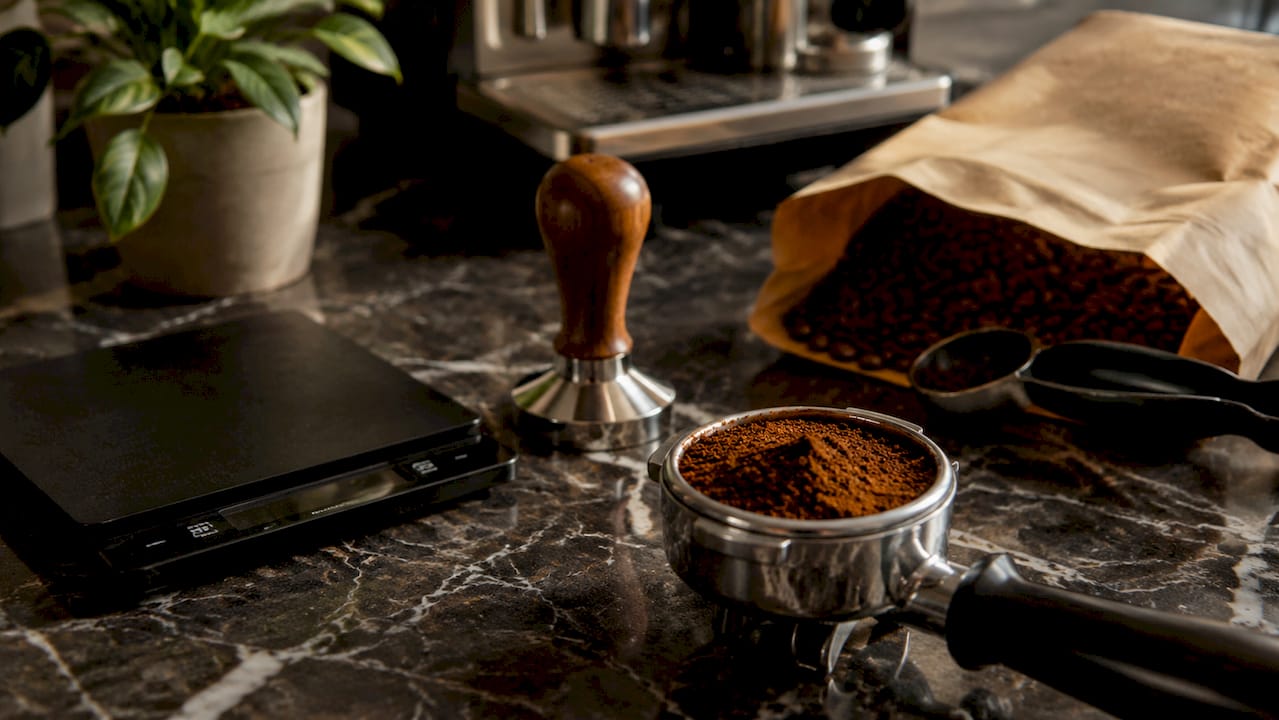
Before you touch the grinder, you need the right gear and a clear set of baseline numbers. Skipping this step is the fastest way to waste beans and get confused.
Essential tools
- Digital scale with 0.1g accuracy (a kitchen scale is not accurate enough)
- Timer (your phone works fine)
- Tamper that fits your portafilter basket
- Espresso grinder with micro-adjustment capability
- Fresh coffee beans (more on freshness later)
- Coffee journal or notes app to record every shot
The scale is non-negotiable. Visual cues like crema are an unreliable indicator of extraction quality. Shots can look perfect and taste sour or bitter if your measurements are off.
Baseline parameters
| Parameter | Target value | What it means |
|---|---|---|
| Dose (coffee in) | 18g | Weight of dry grounds in the basket |
| Yield (liquid out) | 36g | Weight of espresso in the cup |
| Extraction time | 25–30 seconds | Time from first drop to target yield |
| Grind particle size | 200–400 microns | Range for balanced extraction |
Ideal espresso grind size falls between 200 and 400 microns, similar to fine table salt. Particles smaller than 200 microns cause over-extraction. Particles larger than 400 microns cause channeling and under-extraction. You cannot measure microns at home, but shot time tells you exactly where you land.
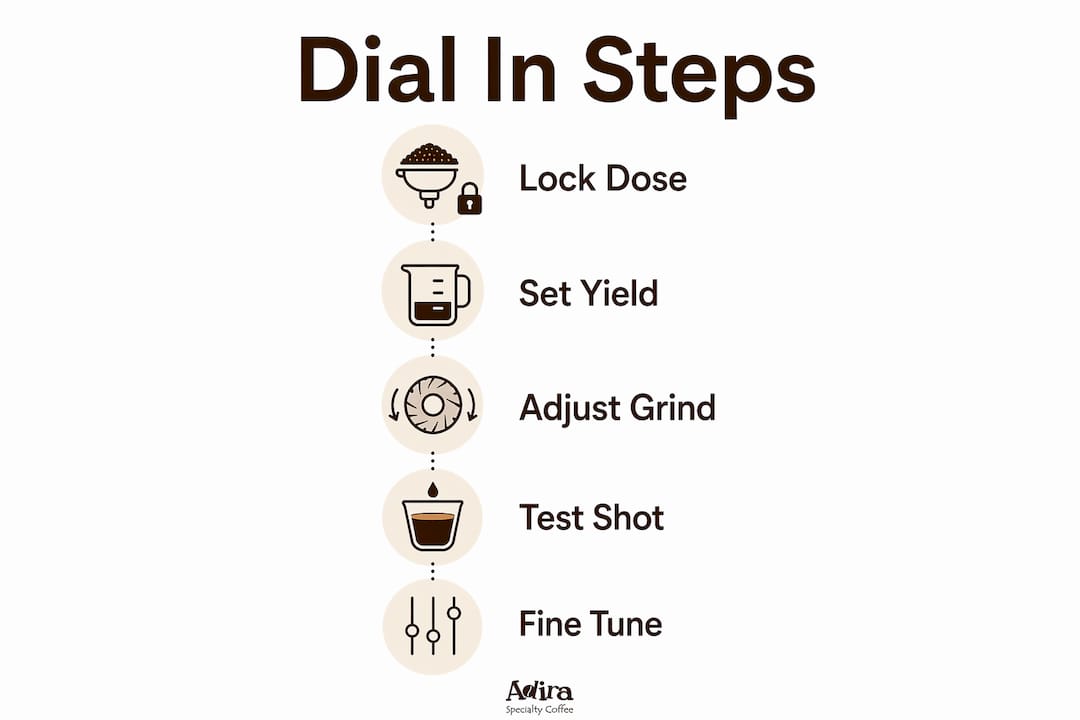
Lock your dose and yield before you touch anything else. Locking these two variables lets you isolate grind size as the only lever controlling shot time and extraction quality. Changing dose and grind at the same time makes it impossible to know what fixed the problem.
Check your espresso equipment essentials before starting. A poorly fitted tamper or a worn basket adds variables you cannot control through grind adjustment alone.
Step-by-step process for adjusting your espresso grinder
This workflow gets most home baristas to a dialed-in shot within 3–5 pulls. Follow it in order and change only one thing at a time.
-
Set a starting grind size. Start coarser than you think you need. A shot that runs too fast is easier to fix than one that chokes the machine.
-
Dose consistently. Weigh 18g of beans into the grinder every time. Variation in dose changes shot time and makes your grind adjustments meaningless.
-
Tamp with even pressure. Inconsistent tamping creates channels in the puck, which throws off extraction time regardless of grind setting. Read up on tamping technique if your puck looks uneven after pulling.
-
Pull the shot and time it. Start your timer when the pump starts. Stop when the scale reads 36g in the cup.
-
Read the result. Shots faster than 20 seconds are under-extracted and taste sour. Shots slower than 35–40 seconds are over-extracted and taste bitter. Use time as your diagnostic, not taste alone.
-
Adjust grind size by one notch. If the shot ran fast, go finer. If it ran slow, go coarser. One notch at a time. Never jump two or three settings in one move.
-
Purge before pulling again. Purge 3–5g of grounds after every grind adjustment. Old grounds from the previous setting stay in the burr chamber and contaminate your next shot. Skipping this step produces what experienced baristas call a “Frankenstein shot,” a mix of two grind sizes that gives you meaningless data.
-
Adjust only while the grinder runs. Make grind adjustments with the motor running. Adjusting a stopped grinder can trap grounds in the burr mechanism and damage the calibration.
-
Record everything. Write down the grind setting, dose, yield, and shot time after every pull. This log becomes your reference point when you open a new bag or notice drift.
-
Stop adjusting grind once you hit the time window. When your shot lands between 25 and 30 seconds, shift focus from grind to taste. At that point, further flavor refinement comes from adjusting brew temperature or yield, not grind size.
Pro Tip: Most home baristas dial in new beans within 3–4 test shots using the one-variable-at-a-time method. Expect to pull and discard 3–5 test shots per new bag. Those shots are diagnostic investments, not waste.
Common mistakes when calibrating your espresso grinder
Most dialing-in failures come from a short list of repeatable errors. Knowing them saves beans and frustration.
- Changing multiple variables at once. Adjusting grind size and dose in the same session makes it impossible to identify what changed the shot. Fix one thing, pull a shot, then decide what to fix next.
- Skipping the purge. Retained grounds from a previous setting contaminate your next shot. Always purge 3–5g after any grind change.
- Trusting visual cues over measurements. Crema color and texture look convincing but tell you nothing reliable about extraction. Use your scale and timer every time.
- Adjusting a stopped grinder. This risks burr damage and produces inconsistent transitions between settings.
- Ignoring channeling. If your shot time is wildly inconsistent from pull to pull at the same grind setting, channeling is the likely cause. Uneven distribution or a poorly fitted tamper creates gaps in the puck where water bypasses the grounds.
Troubleshooting table
| Symptom | Likely cause | Fix |
|---|---|---|
| Shot under 20 seconds, tastes sour | Grind too coarse | Go one notch finer, purge, repull |
| Shot over 35 seconds, tastes bitter | Grind too fine | Go one notch coarser, purge, repull |
| Shot time inconsistent pull to pull | Channeling or uneven tamp | Redistribute grounds, check tamp level |
| Shot in time window but tastes flat | Temperature or yield off | Raise brew temp or increase yield slightly |
| Shot looks good but tastes wrong | Measuring by eye, not scale | Switch to scale and timer immediately |
Pro Tip: Once your shot time is consistently in the 25–30 second window, stop touching the grind. Flavor issues at that point respond to temperature and yield adjustments, not grind changes. Continuing to adjust grind after hitting the time target is one of the most common advanced mistakes.
For a deeper look at fixing flavor problems shot by shot, the espresso flavor troubleshooting guide at Adiracoffee covers sour, bitter, and flat shots in detail.
How bean freshness and environment shift your grinder settings
Your grind setting is not permanent. Beans change, and so does the air around them.
- Bean age matters. Fresh roasted beans off-gas CO2, which affects extraction. Beans roasted within the last 2–4 weeks extract differently than beans sitting in a pantry for two months. Expect your shot time to drift as beans age, even at the same grind setting.
- Humidity changes particle behavior. High humidity causes ground coffee to clump and compact more tightly, which slows extraction. Dry conditions do the opposite. A grind setting that worked perfectly in winter may run slow in summer.
- New bags require a fresh dial-in. Most baristas re-evaluate grinder settings every time they open a new bag, even from the same roaster. Bean density, moisture content, and roast level all vary batch to batch.
- Daily micro-adjustments are normal. Professional baristas adjust grind settings at the start of every shift. At home, check your shot time on the first pull of the day and adjust by half a notch if needed.
- Grinder cleanliness affects consistency. Coffee oils build up on burrs over time and affect grind particle size distribution. Brush out your burrs every few weeks and run a grinder cleaning tablet monthly if your machine supports it.
The practical takeaway: keep your coffee journal current. A log of grind settings tied to specific beans and dates gives you a starting point every time you open a new bag, instead of starting from scratch.
Key takeaways
Dialing in your espresso grinder requires locking dose and yield first, then adjusting grind size one notch at a time until shot time lands between 25 and 30 seconds.
| Point | Details |
|---|---|
| Lock dose and yield first | Set 18g in and 36g out before touching grind size. |
| Use time as your guide | Shots under 20 seconds need a finer grind; shots over 35 seconds need a coarser one. |
| Purge after every adjustment | Discard 3–5g of grounds after each grind change to avoid mixed-setting shots. |
| Adjust only while the grinder runs | Changing settings on a stopped grinder risks burr damage and inconsistent calibration. |
| Expect drift over time | Bean age, humidity, and grinder wear all shift your ideal setting. Check and adjust regularly. |
What I’ve learned from years of dialing in at home
The first time I pulled a truly dialed-in shot, I had wasted an embarrassing number of beans getting there. What I wish someone had told me earlier: the journal is not optional. Every time I skipped writing down my grind setting and shot time, I paid for it the next morning trying to remember where I left off.
The other thing most guides understate is patience with new beans. Every bag from a new origin or a new roast date is a small puzzle. I treat the first 4–5 shots from a new bag as tuition, not waste. That mindset shift makes the process feel like craft instead of frustration.
One more thing worth saying plainly: stop adjusting grind once your shot time is right. I see home baristas keep chasing the grind even after hitting 27 seconds because the shot still tastes thin. That is a temperature or yield problem, not a grind problem. Knowing when to stop is half the skill.
The coffee grinding workflow guide at Adiracoffee helped me build a repeatable morning routine that takes less than two minutes. Once you have a system, dialing in stops feeling like troubleshooting and starts feeling like ritual.
— Stefan
Fresh beans worth dialing in for
Getting your grinder settings right is only half the equation. The beans you put through it determine how good the ceiling can be.

Adiracoffee roasts every bag to order in small batches in California and ships within days of roasting. That freshness matters directly for dialing in. Stale beans compress differently, extract unpredictably, and make your grind adjustments harder to read. The Love Blend is a balanced espresso-forward blend that dials in cleanly and rewards a tight 1:2 ratio. For home baristas who want something unexpected, the Mushroom Coffee Medium Roast pulls a smooth, low-acid shot that responds well to a slightly longer yield. Subscriptions include 10% savings and free US shipping over $35.
FAQ
What does dialing in an espresso grinder mean?
Dialing in means adjusting grind size and related parameters until your shot extracts within the target time window of 25–30 seconds at a 1:2 brew ratio. The goal is balanced flavor, not just a specific number.
How fine should I grind for espresso?
Espresso grind size targets a particle range of 200–400 microns, similar to fine table salt. Your shot time tells you whether you are in range: too fast means too coarse, too slow means too fine.
How many test shots does it take to dial in?
Most home baristas dial in a new bag within 3–5 test shots using the one-variable-at-a-time method. Expect to discard those shots. They are diagnostic pulls, not failed attempts.
Why does my grind setting change between bags?
Bean density, moisture content, roast level, and age all affect how grounds compact and extract. Even the same blend from the same roaster varies batch to batch, which is why re-dialing with each new bag is standard practice.
When should I stop adjusting grind size?
Stop adjusting grind once your shot time consistently lands between 25 and 30 seconds. After that point, flavor refinements come from adjusting brew temperature or yield, not grind size.