
TL;DR:
Most home baristas tend to overspend on machines and underspend on crucial accessories like grinders.
Prioritizing a quality burr grinder and proper technique profoundly impacts espresso quality more than upgrading the machine itself.
Most home baristas overspend on the machine and underspend everywhere else. That’s the mistake the espresso equipment essentials conversation almost never addresses up front. The grinder sitting next to your shiny new machine matters more than the machine itself. Getting the full picture before you buy saves you money, frustration, and weeks of subpar shots. This guide breaks down every piece of important espresso equipment by impact, so you know exactly where your dollars do the most work.
Table of Contents
Key takeaways
| Point | Details |
|---|---|
| Grinder beats machine | Allocate 30–40% of your total budget to the grinder — it drives shot quality more than anything else. |
| Scale accuracy matters | A 0.1g precision scale eliminates dosing guesswork and speeds up your ability to dial in recipes. |
| Tamper size is not optional | A properly sized tamper prevents channeling; the stock plastic one that ships with most machines is not usable. |
| Cleaning is part of the setup | Daily and weekly cleaning routines protect flavor quality and extend machine life significantly. |
| Beans are gear too | Fresh, well-sourced coffee is the raw material your entire setup depends on — don’t treat it as an afterthought. |
1. The espresso equipment essentials that actually move the needle
A well-built home espresso setup rests on six core items: an espresso machine, a burr grinder, a precision scale, a properly sized tamper, fresh coffee, and cleaning supplies. Everything else is secondary. Knowing this up front keeps beginners from spending $400 on accessories before they’ve pulled a single dialed-in shot.
The order matters too. Buy the machine before the grinder, and you’ve likely made the single most common and expensive beginner mistake in the hobby.
Here’s a quick-reference checklist before we go deeper into each item:
-
Espresso machine (single or dual boiler with PID control)
-
Burr grinder capable of espresso-fine, stepless adjustment
-
Digital scale with 0.1g precision and a timer function
-
Tamper sized to your portafilter basket (usually 58mm)
-
Fresh whole-bean coffee from a reputable roaster
-
Cleaning supplies including backflush detergent and a brush
Pro Tip: Buy the grinder first if you’re upgrading individual components. You will notice the improvement in your cup before you’d ever notice a machine upgrade.
2. The espresso machine: basics and what to prioritize
The machine is where most people start the conversation, but it shouldn’t be where you spend the most money. That said, it still matters. A bad machine with no pressure stability or temperature control will undermine even a great grinder.
For most home baristas, a single boiler PID machine hits the sweet spot between price and performance. PID temperature control stabilizes brew water to within a fraction of a degree, which makes a real difference in extraction consistency. Dual boiler machines allow you to steam milk and pull shots simultaneously, which is worth it only if you’re making several milk drinks in a row every morning.
Entry-level machines in the $400 to $700 range from established brands give you solid fundamentals. Going above $1,000 starts buying you faster heat-up times, better build quality, and more forgiving pressure profiles. What it doesn’t buy you is better-tasting espresso if your grinder is mediocre.
3. The grinder: the most important item in your setup
No single piece of gear affects espresso quality more than the grinder. A high-quality burr grinder produces uniform particle sizes, which means even water distribution through the puck. Uneven grinds create channels where water rushes through, pulling sour, bitter, or flat espresso.
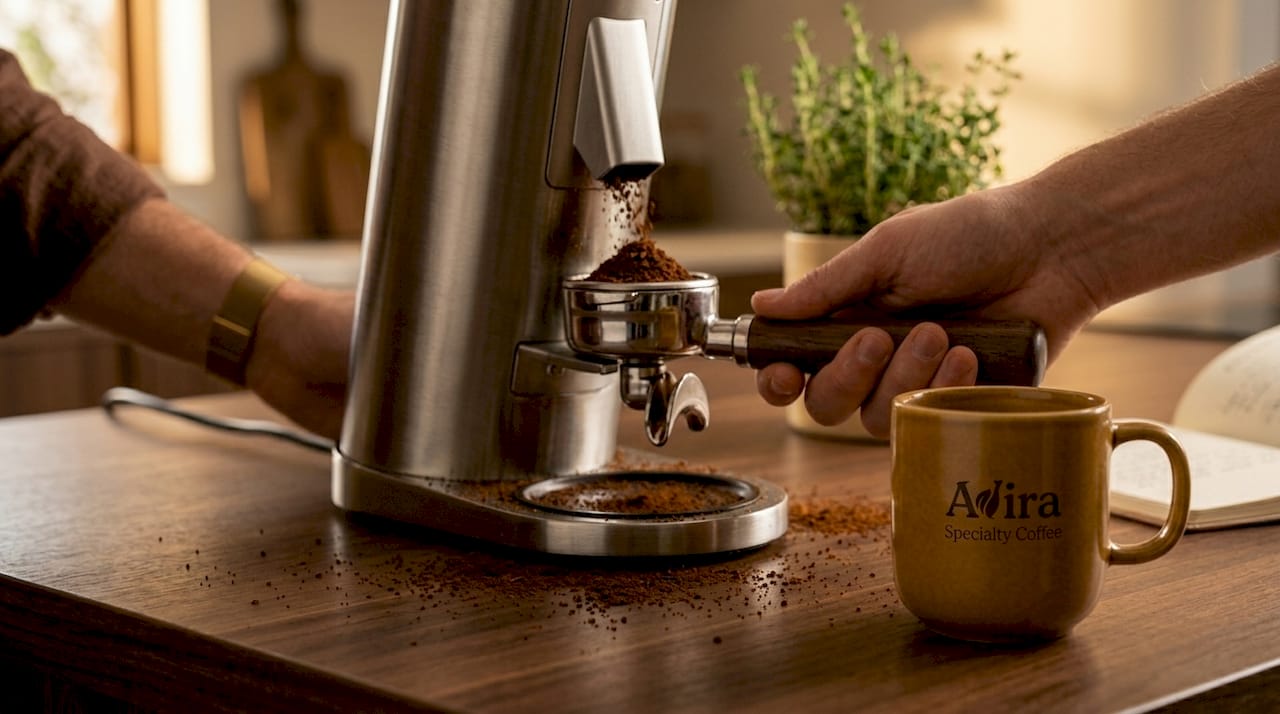
Budget 30 to 40% of your total espresso setup cost on the grinder. If your total budget is $1,000, that means spending $300 to $400 on grinding alone. A $2,000 machine paired with a $100 blade grinder will produce worse shots than a $700 machine paired with a $500 burr grinder. That’s not a preference, it’s physics.
Look for a grinder with stepless adjustment for espresso, flat or conical burrs, and a low retention design so stale grounds don’t contaminate your next dose. Single-dose grinders have become popular for home use precisely because they reduce waste and keep things fresh. For more on dialing in grind settings, grind size guidance covers exactly where to start.
4. The scale: small tool, outsized impact
Dosing espresso by feel is how you get two-gram swings between shots and spend weeks wondering why your recipe doesn’t taste the same twice. Dosing by volume causes 2 to 4 gram variability in shot yield, which at espresso concentrations is the difference between a balanced cup and a sour one.
A scale with 0.1g precision solves this. Weigh your dry coffee dose before grinding. Then weigh your liquid espresso yield as it flows. The standard starting recipe is 18g of coffee in, 36g of espresso out, in 25 to 30 seconds. Without a scale, you’re guessing at two out of three variables.
Look for a scale with a built-in timer. Coffee-specific scales like the Acaia Pearl or budget options from Timemore are flat enough to sit under a portafilter without getting splashed. Spending $30 to $150 here accelerates your learning curve more than almost any other accessory.
Pro Tip: Weigh your shot as it flows, not just at the end. Watching the drip rate in real time tells you more about puck quality than a post-shot number alone.
5. The tamper: upgrade this before anything else
Stock tampers are one of the most common failure points in beginner setups. Most machines ship with a plastic tamper that is too small for the basket and too light to create even pressure. The result is an uneven puck surface with gaps where water channels through unevenly.
A properly sized tamper that matches your portafilter diameter, almost always 58mm for home machines, creates a flat, consistent puck surface that water has to work through evenly. You don’t need a $200 calibrated tamper. A solid 58mm stainless steel tamper in the $30 to $60 range does the job well.
Calibrated tampers click at a set pressure, which helps beginners develop consistency. They’re worth considering but not required from day one.
6. Fresh coffee beans: the ingredient your gear depends on
The best espresso equipment in the world cannot fix stale coffee. If your beans were roasted more than four weeks ago, oxidation has already muted the flavors your grinder and machine were supposed to extract. Buying whole bean coffee and grinding right before each shot preserves the volatile compounds that make espresso taste bright and complex.
For espresso specifically, look for beans roasted within the past one to three weeks and rested at least five days post-roast. Freshly roasted coffee off-gasses CO2, and too much of it disrupts extraction. A sweet spot between five and twenty-one days from roast date tends to produce the most consistent shots.
Store beans in an airtight container away from light and heat. The freezer works for long-term storage if beans are sealed properly, but for your daily bag, a counter-level airtight canister is all you need.
7. Secondary tools that improve your workflow
Once you have the six essentials covered, these accessories add real value without being prerequisites:
-
Knock box: A dedicated container for disposing of used pucks keeps your workflow clean and prevents mess at the sink. Rubber-lined versions protect your portafilter.
-
Distribution tool or WDT tool: WDT tools break up clumps in the grind bed before tamping, improving consistency. Useful once you’ve confirmed your grinder and tamp technique are dialed in.
-
Milk frothing pitcher: If you make lattes or cappuccinos, a 12 to 20 oz stainless pitcher with a pointed spout gives you more control over latte art and foam texture.
-
Tamping mat: A silicone tamping mat protects your counter and gives you a stable surface to tamp on. Basic ones are inexpensive and worth having.
-
Portafilter stand or cradle: Keeps the portafilter stable while dosing and reduces hand fatigue during workflow.
None of these items fix underlying issues with grind quality or machine calibration. Think of them as workflow refinements, not solutions to extraction problems.
8. Cleaning and maintenance: the part most guides skip
Clean equipment extracts better espresso. That’s not a vague recommendation. Neglecting cleaning leads to rancid coffee oil buildup that poisons flavor over time and damages machine internals.
Here’s the maintenance routine that keeps your setup performing:
-
After every session: Wipe the group head with a brush and flush water through the head for a few seconds. Rinse the portafilter and basket under hot water.
-
Daily backflush (if your machine has a three-way solenoid valve): A water-only backflush cycle pushes water back through the group head, clearing oils from internal channels.
-
Every two weeks: Run a backflush with espresso machine detergent. This removes oil deposits that water alone can’t cut.
-
Monthly: Remove and soak the shower screen and dispersion plate in hot water with cleaning solution. Scrub with a soft brush and reinstall.
-
E61 group head machines: These require weekly lubrication of the cam lever and periodic cleaning of the mushroom valve. Check your machine manual for specifics.
For a full breakdown of cleaning schedules and product recommendations, this cleaning guide covers everything step by step.
My honest take on building a home espresso setup
I’ve watched a lot of people set up their first home espresso bar, and the pattern is almost always the same. They buy a flashy machine, use the stock grinder and tamper that came with it, and then spend months frustrated that their shots taste bitter or sour.
The problem isn’t the machine. It’s that grinder quality is foundational, and no amount of tamping technique or accessory purchases compensates for inconsistent particle size. I’ve pulled shots on a modest single-boiler machine with a quality grinder that outperformed setups costing three times as much.
My actual advice: spend the first month with just the six essentials. Master your recipe. Get comfortable with your machine’s quirks. Only after you understand why a shot went wrong should you start adding tools. A WDT tool won’t fix a grind you haven’t learned to dial in yet. Patience with the basics gets you further than a drawer full of accessories.
The grinder upgrade is almost always the best second purchase for anyone who already owns a machine. And beans matter as much as gear. Fresh coffee from farms you trust changes what’s possible in the cup.
— Stefan
Build your espresso setup with Adiracoffee
Getting the gear right is only half the equation. The coffee itself defines what your setup is capable of, and that starts with freshness.
At Adiracoffee, we roast in small batches and ship with full roast-date transparency so you always know exactly how fresh your beans are. Our freshly roasted coffee beans are sourced from over 50 farms across Colombia, Ethiopia, Costa Rica, Guatemala, Brazil, and Sumatra, each selected for the specific flavor profile it brings to espresso. If you want somewhere concrete to start, our Costa Rica single-origin pulls beautifully as espresso with bright acidity and clean sweetness. We also offer grinder tips, tampers, scales, and cleaning supplies to help you find your ideal setup from the first shot forward.
FAQ
What are the must-have espresso items for beginners?
The six must-have items are an espresso machine, a burr grinder, a 0.1g precision scale, a correctly sized tamper, fresh coffee beans, and cleaning supplies. Everything else builds on this foundation.
How do I choose espresso equipment on a limited budget?
Prioritize the grinder first. Allocating 30 to 40% of your total budget to the grinder delivers the biggest improvement in shot quality per dollar spent.
What is the right tamper size for most home machines?
Most home espresso machines use a 58mm portafilter basket, so a 58mm tamper is the standard. Always confirm your basket diameter before buying.
How often should I clean my espresso machine?
Rinse the group head after every session, run a plain water backflush daily if your machine has a solenoid valve, and use detergent every two weeks to remove oil buildup.
Does grind size really affect espresso that much?
Yes. Grind size is the primary variable for hitting your target extraction time and yield. Even small adjustments change whether a shot pulls sour, bitter, or balanced.