
TL;DR:
- Proper tamping involves evenly compressing fresh, well-ground coffee to create a uniform puck that ensures balanced extraction. Using a correctly sized tamper, applying consistent pressure between 15 and 30 pounds, and maintaining proper posture are essential for repeatable, high-quality espresso shots. Prioritizing thorough distribution and leveling steps fixes common issues more effectively than focusing solely on tamping force.
Tamping espresso is defined as the process of compressing ground coffee into a firm, level puck inside the portafilter basket so that pressurized water flows evenly through every particle during extraction. When you tamp correctly, water cannot find shortcuts through loose or uneven grounds, which means you get balanced flavor, rich crema, and a shot that tastes the same every single time. When you tamp poorly, you get channeling, bitterness, and a shot that varies wildly from one pull to the next. This guide covers the full espresso tamping technique, from choosing the right tools to diagnosing extraction problems, using 2026 industry best practices that prioritize consistency and distribution over outdated pressure myths.
What equipment do you need to tamp espresso properly?
Getting your setup right before you press a single gram of coffee is the fastest way to improve your results. The wrong tamper size alone can ruin a technically perfect press.
Choosing the right tamper size
Your tamper must match your portafilter basket diameter within 0.1 to 0.2mm tolerance. A tamper even 1mm too small leaves a ring of uncompacted grounds at the basket edge, creating bypass flow routes that cause channeling regardless of how much force you apply. Most home espresso machines use a 58mm basket, which is standard for brands like Breville, Rancilio, and La Marzocco. Check your basket size before buying a tamper. A flat-base tamper works well for most home setups, while a convex base suits baristas who struggle with edge coverage.
Tools that make a real difference
Beyond the tamper itself, a few additional tools separate inconsistent home shots from repeatable, cafe-quality pulls:
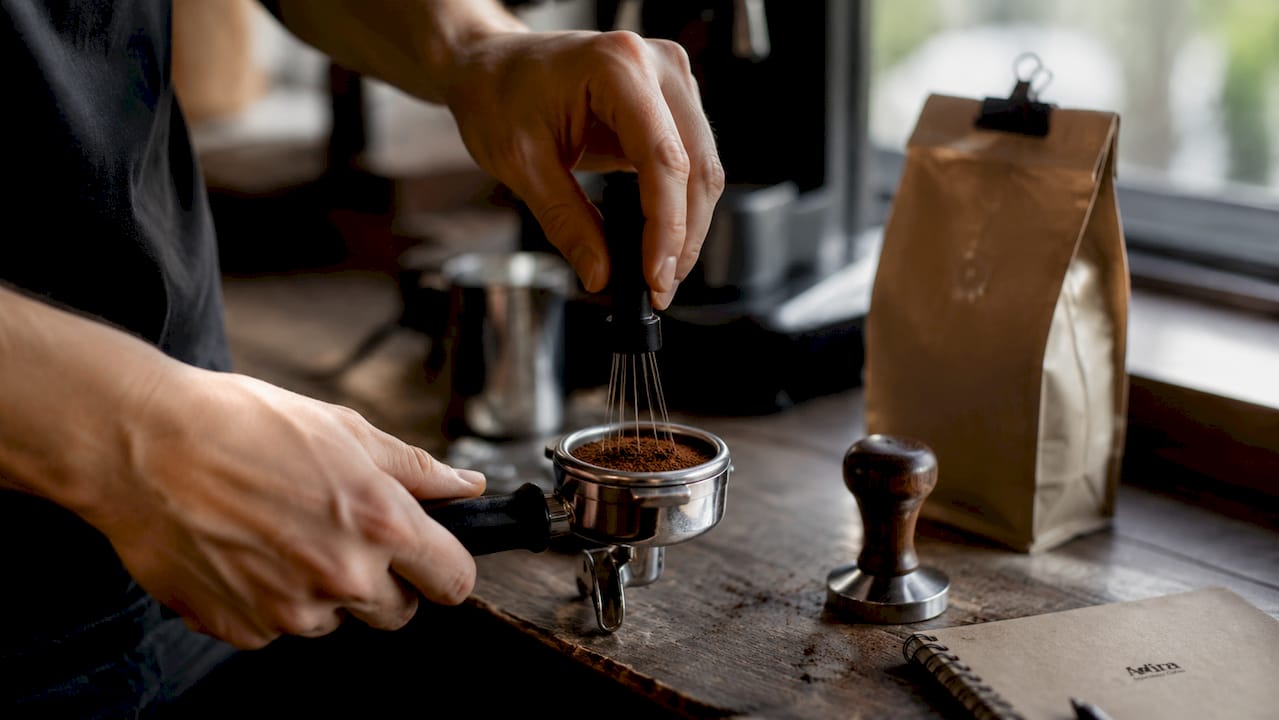
- WDT tool (Weiss Distribution Technique needle tool): Breaks up clumps in the coffee bed before tamping, creating uniform density throughout the puck
- Leveling bar or distribution tool: Spins across the basket rim to flatten the coffee bed before you press
- Tamping mat: Protects your countertop and gives you a stable, non-slip surface to press against
- Calibrated tamper: Clicks or releases at a set pressure, useful for building muscle memory during early practice
- Digital scale: Weighing your dose to 0.1g precision removes one major variable before you even pick up the tamper
Pro Tip: Proper barista posture means your elbow sits roughly 90 degrees above the portafilter. Counter height often forces a tilted press without you realizing it. A small tamping mat raised on a folded towel can fix this instantly.
Pair your tamping setup with freshly ground coffee. Stale grounds clump unevenly and resist uniform compression. For a full breakdown of the tools that support a consistent espresso workflow, the espresso equipment guide at Adiracoffee covers everything from grinders to distribution tools in one place.
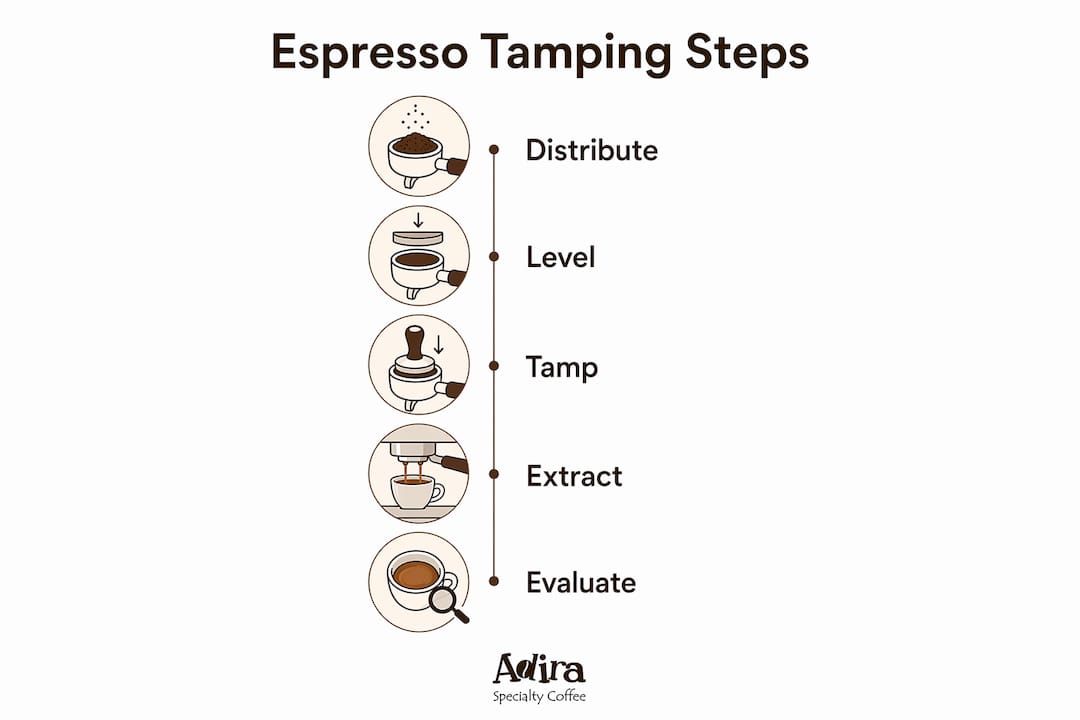
How to tamp espresso: the step-by-step process
The best way to tamp coffee follows a fixed sequence every single time. Skipping steps or reordering them compounds errors.
-
Weigh your dose. Dial in your recipe before anything else. A standard double shot uses 18 to 20 grams of ground coffee. Use a digital scale and stay within 0.2g of your target dose on every pull.
-
Run WDT distribution. Insert a WDT needle tool and stir gently through the grounds in a circular motion. The essential puck prep workflow starts here because WDT breaks clumps that tamping cannot fix. Compressed clumps become dense spots that water avoids, which creates channeling.
-
Level the coffee bed. Use a leveling bar or the Stockfleth move (rotating your finger across the basket rim) to create a flat, even surface. You are not compressing anything yet. You are simply making the starting surface uniform so your press lands evenly.
-
Position your tamper and press straight down. Place the tamper flat on the coffee bed. Apply steady downward force without any rocking, twisting, or sideways movement. Consistent pressure between 15 and 30 lbs is effective because the coffee bed reaches maximum density once fully compressed. Pressing harder beyond that point adds no extraction benefit.
-
Hold for one to three seconds, then lift cleanly. Maintain pressure briefly to let the puck settle, then pull the tamper straight up. Do not rotate while lifting.
-
Inspect the puck surface. A correctly tamped puck looks flat, smooth, and sits evenly in the basket with no visible tilt. Run your finger lightly around the basket wall to check that no loose grounds sit above the puck edge.
Pro Tip: If your puck surface looks domed or uneven after tamping, the problem almost always started at step two or three, not at the press. Go back to distribution before adding more pressure.
Avoid the common reflex of tapping the portafilter on the counter between distribution and tamping. Tapping re-settles grounds unevenly and undoes your WDT work. One clean, level press is all the puck needs.
How does tamping pressure affect espresso extraction?
The traditional “30 lbs of pressure” rule is outdated and misleading. Modern baristas and equipment specialists agree that fast shots are often caused by grind size, not insufficient tamping force. Adjusting your grind finer resolves under-extracted, watery shots far more reliably than pressing harder.
Here is what actually happens during compression. Coffee grounds compress rapidly under initial force and reach maximum puck density well within the 15 to 30 lb range. After that point, additional force does not increase resistance or slow water flow. The machine’s pump pressure, typically 9 bars, does the real work of pushing water through the puck. Your job is to create a uniform, stable surface for that pressure to act on.
“Muscle memory is the most valuable skill for home baristas. Repeatable technique beats chasing an exact pressure number every time.” — Mikael Jasin, tamping technique guide
The risks of getting pressure wrong fall on both sides:
- Over-tamping: Excessive force can choke the shot, causing the pump to struggle and producing a slow, over-extracted, bitter pull
- Under-tamping: Insufficient compression leaves loose grounds that water blasts through in seconds, producing a thin, sour, under-extracted shot
- Uneven pressure: A tilted tamp creates a density gradient across the puck. Water always finds the path of least resistance, which means even a 1° tilt causes channeling and uneven extraction
The practical takeaway is to stop thinking about hitting a number and start thinking about building a habit. Press with the same motion, the same stance, and the same duration on every single shot. Your shots will become consistent long before you can accurately estimate 20 lbs of force. Understanding how tamping connects to coffee extraction science helps you see why puck uniformity matters more than raw force.
Common tamping mistakes and how to fix them
Most extraction problems that home baristas blame on their machine or their beans trace back to puck preparation. These are the errors that appear most often.
- Tilted tamp: Pressing at an angle creates a thicker puck on one side. Water channels through the thin side, leaving the thick side under-extracted. Fix this with proper elbow posture and a leveling tamper if needed.
- Wrong tamper size: A tamper that is even slightly too small leaves uncompressed grounds at the basket wall. Those grounds become a bypass channel that no amount of force can seal. Match your tamper to your basket precisely.
- Polishing or twisting during the press: Twisting while pressing down creates microfractures in the puck surface and breaks the seal between the puck and basket wall. Press straight down and lift straight up.
- Skipping distribution: Tamping harder does not fix clumps or uneven dose distribution. Pressing harder on an uneven bed worsens density inconsistencies and channeling. WDT before tamping is non-negotiable.
- Inconsistent dose weight: Varying your dose by even 1 gram changes puck height and resistance. Always weigh before you grind.
Pro Tip: After pulling a shot, eject the puck and look at it. A dry, intact puck with a flat surface and no visible cracks means your tamp was solid. A wet, crumbly puck with channels or holes points to distribution problems upstream of the press.
| Mistake | Symptom | Fix |
|---|---|---|
| Tilted tamp | Bitter on one side, sour on the other | Check elbow angle; use a leveling tamper |
| Tamper too small | Fast shot despite correct grind | Replace tamper to match basket within 0.2mm |
| Twisting during press | Cracked puck surface, channeling | Press straight down, no rotation |
| Skipping WDT | Uneven extraction, inconsistent shots | Use WDT needle tool before every tamp |
| Variable dose | Shot time varies shot to shot | Weigh every dose to 0.1g |
When you are troubleshooting a shot that still tastes off after fixing your tamp, the espresso flavor troubleshooting guide at Adiracoffee walks through every variable from grind to temperature.
Key takeaways
Consistent, level tamping after thorough WDT distribution produces better espresso than any amount of added force, because puck uniformity controls extraction quality more than pressure ever will.
| Point | Details |
|---|---|
| Tamper fit matters most | Match tamper diameter to basket within 0.2mm to prevent bypass channeling. |
| Distribution before tamping | WDT breaks clumps that tamping cannot fix; skip it and no tamp technique saves the shot. |
| Levelness beats force | Even a 1° tilt causes channeling; straight, consistent pressure is the real target. |
| Pressure range is flexible | Any force between 15 and 30 lbs fully compresses the puck; muscle memory matters more than hitting a number. |
| Fix fast shots with grind | A watery, fast shot signals a grind that is too coarse, not a tamp that is too light. |
Why distribution changed everything for me
I spent the first year of pulling espresso at home convinced that my tamping pressure was the problem. Every time a shot ran fast or tasted flat, I pressed harder on the next one. It did not help. What actually changed my results was slowing down before the tamp, not during it.
Once I started using a WDT tool consistently and taking an extra ten seconds to level the bed properly, my shot times stabilized in a way that no amount of pressure adjustment ever achieved. The tamp became almost boring, which is exactly how it should feel. A good tamp is not dramatic. It is a quiet, straight press onto a bed you already prepared well.
The other thing I learned the hard way is posture. My counter is a standard kitchen height, and I was pressing at a slight angle every single time without knowing it. Raising my tamping mat by about two inches fixed a tilt I had been compensating for with uneven finger pressure for months. Small ergonomic details like that are invisible until you look for them.
If you are hitting a plateau with your home espresso, I would bet on distribution and leveling before I would bet on tamper upgrades or pressure adjustments. Get those two steps locked in, and the tamp almost takes care of itself.
— Stefan
Start with better beans and the right tools

Every tamping technique in this guide works best when the coffee underneath the tamper is worth the effort. At Adiracoffee, Stefan and Ekaterina roast single-origin beans and signature blends to order in small batches in California, shipping within days of roast so you are always working with fresh, properly degassed coffee. The Love Blend is built specifically for home espresso, with a balanced profile that rewards consistent puck prep and pulls clean across a range of grind settings. If you prefer exploring origin character in your espresso, the single-origin collection includes beans from Colombia, Ethiopia, and Costa Rica that each respond beautifully to a well-tamped, evenly extracted shot. Free US shipping on orders over $35, with a subscription option that saves you 10%.
FAQ
What is the correct tamping pressure for espresso?
Any consistent pressure between 15 and 30 lbs fully compresses the coffee puck to maximum density. Repeatability matters more than hitting an exact number, so focus on building the same motion every time rather than estimating force.
Why does my espresso shot run too fast?
A fast shot is almost always caused by a grind that is too coarse, not by insufficient tamping force. Adjust your grinder one step finer before changing anything about your tamp technique.
Should I twist the tamper when pressing espresso?
No. Twisting while pressing creates microfractures in the puck surface and breaks the seal at the basket wall, both of which promote channeling. Press straight down and lift straight up with no rotation.
How do I know if my tamp is level?
After pressing, the puck surface should look flat and sit evenly in the basket with no visible tilt. Checking your elbow position, keeping it directly above the portafilter at roughly 90 degrees, is the most reliable way to prevent tilt before it happens.
Does tamping harder fix a weak or sour espresso shot?
No. Sour, weak shots point to under-extraction, which is caused by a grind that is too coarse or a dose that is too light. Pressing harder on an already compressed puck does not increase resistance or slow water flow in any meaningful way.