
Start with a coffee-to-water ratio around 1:16 by weight for most pour-over and drip coffee, such as about 15 grams of coffee per 240 grams of water. Use a slightly stronger ratio near 1:15 for fuller-bodied cups suited to milk drinks, and a lighter ratio near 1:17 to 1:18 for cups with a lighter, tea-like character. Weigh both coffee and water on a digital scale in grams. Everything else in brewing gets easier once that number is locked.
TL;DR:
- Lock your coffee to water ratio first using a digital scale to prevent over-dilution and ensure consistent extraction.
- Adjust grind size and contact time before changing the ratio, as extraction yield remains relatively stable across different ratios.
- Typical starting ratios are 1:16 for pour-over and drip, 1:15 for Chemex, 1:14 to 1:16 for French press, and 1:2 for espresso, with specific adjustments per brewing method.
- The water’s total dissolved solids level should be between 75 and 175 ppm, as water chemistry significantly affects flavor.
- Use a burr grinder and accurately weigh coffee and water to avoid common brewing errors and achieve better flavor balance.
Table of Contents
- What Is the Right Coffee to Water Ratio for Each Method?
- Why Does the Coffee to Water Ratio Matter So Much?
- What Are the Best Starting Recipes for Each Brewing Method?
- How Do You Dial In Your Coffee to Water Ratio?
- Which Tools Actually Improve Your Coffee?
- Why Does My Coffee Taste Off? Quick Fixes
- Adira Coffee’s Approach to Ratio and Roast
- A Founder’s Take on Getting This Right
- Which Adira Coffee Pairs With Which Ratio?
- Sources
What Is the Right Coffee to Water Ratio for Each Method?
Every brewing method has a sweet spot, and they are not interchangeable. A ratio that tastes balanced in a French press will taste thin in an AeroPress, because contact time and filtration change how much flavor actually ends up in the cup. The table below gives you a starting point for each method, in weight, not volume.
A few of these numbers deserve context, especially if you’re curious about alternative coffee products like mushroom blends as discussed in our Four Sigmatic Coffee Review. The AeroPress works two completely different ways depending on which end of its ratio range you use: run it standard and you get a cup you drink straight; run it as a concentrate and you get something closer to espresso that you cut with hot water or milk. Cold brew works the same way. Nobody drinks cold brew concentrate at full strength. It is brewed strong on purpose and diluted at the glass, usually 1:1 with water or milk depending on how bold you want it.
Espresso is the outlier here, and it is worth a warning. The 1:2 “brew ratio” (18 grams in, 36 grams out) tells you the relationship between dose and yield, not a full recipe. Real espresso dial-in also depends on shot time, pressure, and puck prep in ways pour-over does not, so treat that ratio as a reference point, not a finished formula.
Why Does the Coffee to Water Ratio Matter So Much?
Ratio controls strength. Grind size, water temperature, and contact time control extraction. Those are two separate things, and confusing them is the most common mistake home brewers make.
Strength is measured as total dissolved solids, or TDS: the percentage of your cup that is actually dissolved coffee rather than water. Extraction yield measures something different: what percentage of the coffee grounds’ soluble material ended up in your cup. The SCA Golden Cup standard sets a target TDS of 1.15% to 1.35% for filter coffee and an extraction yield of 18% to 22%. That narrow band is where most tasters agree coffee tastes balanced rather than weak or harsh.
Here is the part that surprises most people: extraction yield barely moves when you change your ratio. A study published in Scientific Reports modeled full-immersion brewing and found something counterintuitive.
The math behind ratio: In full-immersion brewing, brew strength (TDS) is approximately inversely proportional to the coffee-to-water ratio, while extraction yield stays close to 21% across a wide range of ratios.
Translate that out of the lab and into your kitchen: adding more water does not pull more flavor out of the grounds. It just dilutes what was already extracted. If your coffee tastes weak, extracting harder (finer grind, more time, hotter water) will not necessarily fix it if the real problem is too much water for too little coffee. That is a ratio problem, not an extraction problem.
This is why serious brewers treat ratio and extraction as two separate dials rather than one blended setting. Lock the ratio first, taste the result, and only then decide whether the issue is strength (fix with ratio) or balance (fix with grind, time, or temperature). Skipping this order is how people end up making three changes at once and never learning which one actually helped.
What Are the Best Starting Recipes for Each Brewing Method?
These are not theoretical numbers. They are the ratios experienced home brewers land on after enough trial and error, and every one of them is a legitimate place to start today.
Pour-over and drip. Start at 1:16, or 15 grams of coffee to 240 grams of water for a single cup. Grind medium, roughly the texture of coarse sand. Pour in stages: a 30 to 45 second bloom with just enough water to wet the grounds, then the rest in two or three slow pours, finishing around the 3-minute mark.
Chemex. This brewer’s thick paper filter strips out more oil and fine sediment than a standard cone, so a slightly tighter ratio (1:15 to 1:16) keeps the cup from tasting thin. For a full carafe, 30 grams of coffee to 480 grams of water is a reliable starting point. A complete Chemex walkthrough covers pour technique in more detail.
AeroPress. The standard method runs 1:14 to 1:16, meaning 15 grams of coffee to somewhere between 225 and 240 grams of water, steeped one to two minutes before pressing. Want a concentrate for milk drinks instead? Push the ratio to 1:5 or 1:7 (roughly 20 grams to 120 grams of water) and dilute the result to taste. A step-by-step AeroPress recipe walks through both versions.
French press. Full immersion brewing rewards a slightly stronger ratio, 1:14 to 1:16, since the metal filter lets more body and oil through than paper. Use a coarse grind, similar to sea salt, and steep for four minutes before plunging.
Espresso. Dose 18 grams in and pull to 36 grams out for a 1:2 ratio, the modern default for most cafés. Wider ratios (1:1.5) yield a shorter, more concentrated shot; longer ones (1:2.5) yield something lighter and more diluted. Remember this is a starting frame, not a finished recipe.
Cold brew concentrate. Brew at 1:7 to 1:10, steep 12 to 24 hours at room temperature or in the fridge, then strain and dilute 1:1 with water or milk before drinking.
Pro Tip: Keep a small notebook or a notes app entry with your dose, grind setting, and tasting notes for every brew. Ratio math is only useful if you can trace which change caused which result.
How Do You Dial In Your Coffee to Water Ratio?
Dialing in is not guesswork if you do it in order. Change one thing, taste, then change the next thing.
- Pick a baseline ratio and weigh both sides. Start at 1:16 for filter methods or the method-specific number above. Use a scale, not a scoop.
- Set water temperature for your roast. Lighter roasts generally want water closer to 205°F; darker roasts often taste better a few degrees cooler, closer to 195°F.
- Set your grind size and taste. Sour or thin means grind finer or extend contact time. Bitter or harsh means grind coarser or shorten it. Adjust one variable, not three.
- Record what you taste before you touch the ratio again. Only once the extraction feels balanced should you consider raising or lowering the ratio itself for strength.
- Expect this to take three to five brews. A single sitting with a bag of coffee and a scale is usually enough to land on a repeatable recipe you can use again tomorrow.
The point of this order is isolation. Change grind and ratio in the same brew and you will not know which fix worked, so you will be back to guessing on day two.
Which Tools Actually Improve Your Coffee?
Two upgrades do more for consistency than anything else you can buy, and neither is expensive.
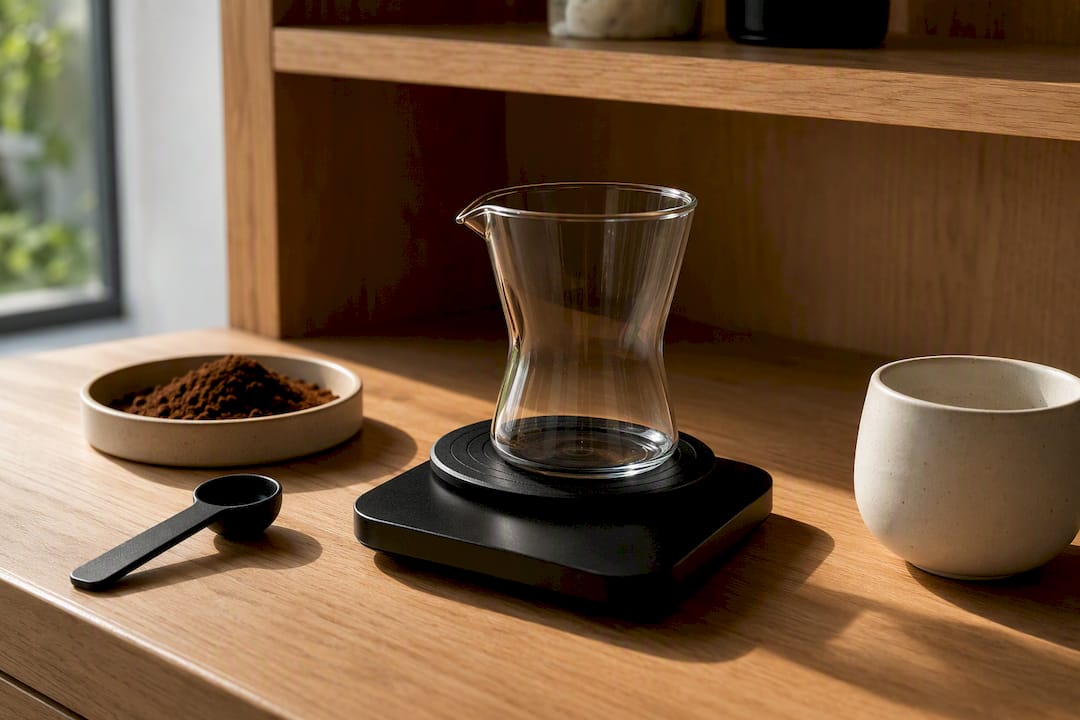
A digital scale accurate to 0.1 grams removes the guesswork that scoops introduce. Volume measurements vary with bean density, roast level, and even humidity, and that inconsistency alone can swing your dose by 10 to 15% from one scoop to the next. That is a bigger error than most people ever fix by upgrading their grinder.
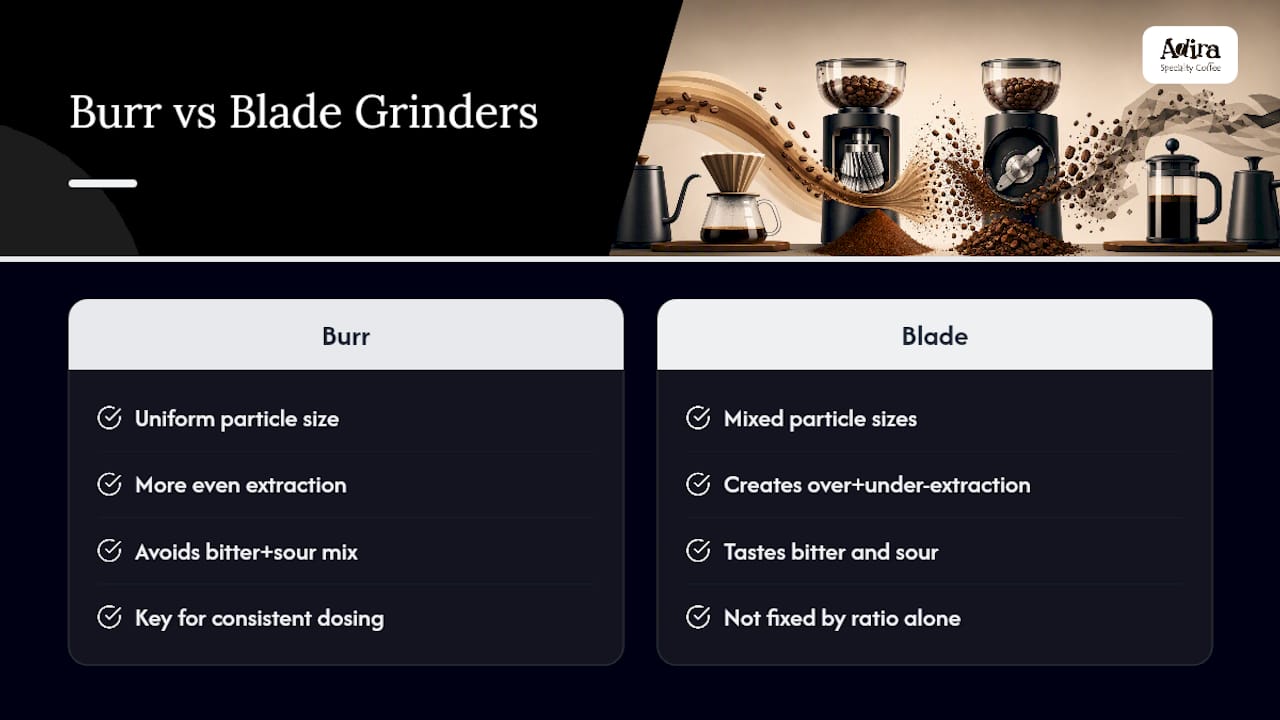
Speaking of grinders: a burr grinder beats a blade grinder for one specific reason. Blade grinders chop unevenly, producing a mix of large chunks and fine dust in the same batch. That uneven particle size causes the fine particles to over-extract while the large ones under-extract at the same time, which tastes simultaneously bitter and sour. No ratio adjustment fixes that. Only a better grind fixes it.
Water matters more than most home brewers assume. Aim for water with total dissolved solids in the 75 to 175 ppm range. Calcium and magnesium act as extraction agents, pulling flavor compounds out of the grounds, while excess bicarbonate can flatten brightness and acidity. Distilled water alone often brews flat and lifeless for exactly this reason. A closer look at how water chemistry shapes flavor is worth reading if your coffee still tastes off after fixing ratio and grind.
Pro Tip: If you brew the same recipe in two different kitchens and get two different results, suspect the water before you suspect your technique.
For enthusiasts chasing more precision, a thermometer, a timer, and eventually a refractometer for measuring actual TDS round out the kit. None of them matter until the scale and grinder are already in place.
Why Does My Coffee Taste Off? Quick Fixes
- Sour or sharp: Under-extracted. Grind finer or extend contact time. Keep the ratio exactly where it is.
- Bitter or harsh: Over-extracted. Grind coarser or cut contact time short. Same rule: leave the ratio alone.
- Weak and bitter at the same time: This is a ratio problem, not an extraction problem. Raise your dose (move toward 1:15) instead of grinding finer.
- Inconsistent from one brew to the next: Check whether you are weighing coffee every time or eyeballing it, and check whether your water source changed.
Adira Coffee’s Approach to Ratio and Roast
Freshly roasted coffee that is shipped quickly retains quality, as ratio advice holds up better on fresh coffee. Beans sourced from cooperatives and small farms in Colombia, Ethiopia, Costa Rica, Mexico, and Sumatra behave differently at the same ratio depending on roast level and origin character. For method-specific starting points, the Chemex ratio guide and the AeroPress recipe walk through the adjustments that matter most for those two methods.
A Founder’s Take on Getting This Right
Most brewing frustration comes from changing three variables in one cup and blaming the wrong one. Lock your ratio, weigh everything, and change grind before you touch anything else. Upgrade in this order: scale first, grinder second, water last. Try the recipes above on a consistent supply of fresh coffee so the coffee itself is not the variable working against you.
— Stefan
Which Adira Coffee Pairs With Which Ratio?
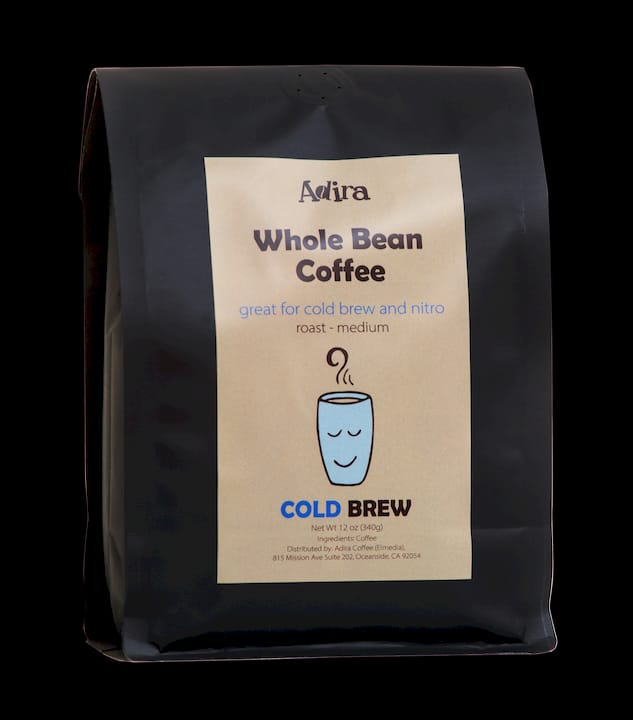
Once your ratio is dialed, the coffee itself starts to matter as much as the numbers. Adiracoffee’s Cold Brew is roasted specifically for concentrate brewing, so building it at 1:7 or 1:8 and diluting 1:1 with milk or water gets you the low-acid, chocolatey profile it is meant for.
If you are pulling shots or building milk drinks at home, the Love Blend holds up at the stronger ratios those drinks need, closer to 1:15 for drip or 1:2 for espresso, without disappearing under milk. For pour-over drinkers chasing clarity and origin character, the Ethiopia Natural shines at the lighter end, 1:17 to 1:18, where its fruit-forward notes have room to show.
Sources
- An equilibrium desorption model for the strength and extraction yield of full immersion brewed coffee | Scientific Reports
- Specialty Coffee Extraction Variables: The 6 Factors That Determine Flavor | Coffee Guide
- Coffee Extraction Science Explained: How to Brew Better Coffee