
Use 15 grams of coffee to 240 grams of water (a 1:16 ratio), heated to 200°F, ground medium-fine like table salt. Steep for one minute, then press for 20 to 30 seconds. That’s it. This is your starting point, not a rulebook. Small batches of coffee are roasted to make this baseline forgiving, so weigh it out, brew it, and adjust from there using the 1:16 ratio standard most specialty guides build around.
TL;DR:
- Using a 1:16 coffee-to-water ratio with medium-fine grounds and 200°F water serves as a reliable starting point for consistent AeroPress brewing.
- The three key recipes—daily driver, concentrated espresso, and iced brew—are designed for different flavor profiles and use, with specific dose and steep time adjustments.
- Stick to the standard upright method with precise timing and stirring; inverted and bypass techniques offer additional control for specific preferences.
- Troubleshooting involves adjusting one variable at a time—ratio, grind, temperature—and keeping a detailed brewing log for best results.
- Freshly roasted beans are essential; grind immediately before brewing and consider roast date to optimize extraction and flavor clarity.
Table of Contents
- Three Starter AeroPress Recipes for Every Mood
- How to Brew AeroPress the Standard Upright Way, Step by Step
- Inverted, Bypass, and Other AeroPress Recipe Variations
- Why Does My AeroPress Coffee Taste Off? A Troubleshooting Guide
- What Grind, Ratio, and Temperature Actually Control
- Sources
Three Starter AeroPress Recipes for Every Mood
You don’t need seven variations memorized. You need three, each built for a different result. Pick the one that matches what’s in your cup on a given morning, and build from there.
Recipe 1: The Clean Daily Driver
This is the recipe you’ll use most. It’s balanced, forgiving, and works with almost any bean.
- Dose: about 15g coffee to 240g water (around a 1:16 ratio)
- Water temp: 200°F
- Grind: Medium-fine, texture like table salt
- Method: Stir 10 times after pouring, seal the plunger, steep 1:00, press for 20 to 30 seconds
- Filter: Paper, rinsed first to remove papery taste
It’s clean, bright, and repeatable enough that you can brew it half asleep and still get a good result.
Recipe 2: The Milk-Ready Concentrate
If you’re building a latte or an americano at home, you want something stronger and more concentrated to survive dilution or milk.
- Dose: 20g coffee to 100g water (a much tighter ratio, closer to 1:5)
- Water temp: 205°F
- Grind: Slightly finer than your daily driver
- Method: Short press, aiming for a syrupy, intense shot
- Use it: Pour over ice with milk, dilute 1:1 with hot water for an americano, or drink it straight if you like your coffee aggressive
This one rewards using freshly roasted coffee beans for AeroPress rather than whatever’s been sitting in your pantry for a month, since concentrate hides nothing. Stale beans taste flat and papery at this strength.
Recipe 3: The Iced Flash-Chill
Brewing hot and pouring over ice preserves aroma compounds that get lost if you just cold-steep grounds for hours.
- Dose: about 18g coffee to 130g hot water
- Water temp: 205°F
- Grind: Medium-fine
- Ice: Brew directly onto 110g of ice in your serving glass
- Method: Press as normal, straight onto the ice, stir, and serve
The ice does double duty. It chills the coffee instantly and dilutes it to drinking strength, which is why the hot-brew ratio looks stronger than your daily recipe.
How to Brew AeroPress the Standard Upright Way, Step by Step
The recipes above only work if your technique is consistent. Here’s the exact sequence for the standard, right-side-up AeroPress method.
Before you start: Get your scale, timer, and grinder in place. Rinse your paper filter if you want to kill the papery taste, and preheat your mug or carafe with hot water while you grind.
- Assemble the AeroPress with a rinsed filter locked into the cap, sitting on top of your mug.
- Start your timer the moment you begin pouring water over the grounds.
- Pour in a spiral pattern, working from the center outward, to wet all the grounds evenly rather than dumping water in one spot.
- Stir using a north-south motion, then east-west, about 10 total strokes. This breaks up any dry clumps.
- Insert the plunger just enough to seal the top and stop airflow, without pressing down yet. This traps the brew in an airtight chamber during the steep.
- Let it steep until you hit the 1:00 mark on your timer.
- Press slowly and steadily over 20 to 30 seconds. You’re aiming for even, continuous pressure, not a fast shove.
- Stop the moment you hear the hiss. That sound means you’ve extracted the water and you’re now pushing air through wet grounds. Forcing the plunger past that point pulls bitter compounds into your cup that you don’t want.
- Taste it. If it’s easy to drink and tastes clean, you nailed it. If not, note what you tasted and move to the troubleshooting section below.
Pro Tip: Keep a small notebook or note app entry for every brew. Write down the dose, grind setting, and how it tasted. After five or six brews, patterns jump out that memory alone will never catch.
Inverted, Bypass, and Other AeroPress Recipe Variations
But two variants solve specific problems the standard method doesn’t handle as cleanly.
The Inverted Method
Flipping the AeroPress upside down before brewing (chamber on top, plunger pulled slightly out to create a seal, cap and filter added only at the end) gives you full control over steep time. Nothing drains until you decide it does, since gravity isn’t pulling water through the grounds early.
- Assemble with the plunger inserted about an inch into the chamber, then flip the whole unit upside down
- Add grounds and water as usual, stir, and let steep for your target time
- Attach the filter cap, then carefully flip the entire assembly right-side up onto your mug before pressing
Go slowly on that flip. It’s the one moment where an unstable countertop or a wobbly wrist turns into a coffee-covered counter.
Bypass Brewing
Bypass means brewing a small, strong concentrate, then diluting it with additional hot water after pressing, rather than trying to brew a full-size cup directly. Brew 18g coffee to 90g water as a tight concentrate, then add 150g of hot water after pressing to reach a full 240g serving. You get concentrate-level extraction without the harshness that comes from over-extracting a full-size brew.
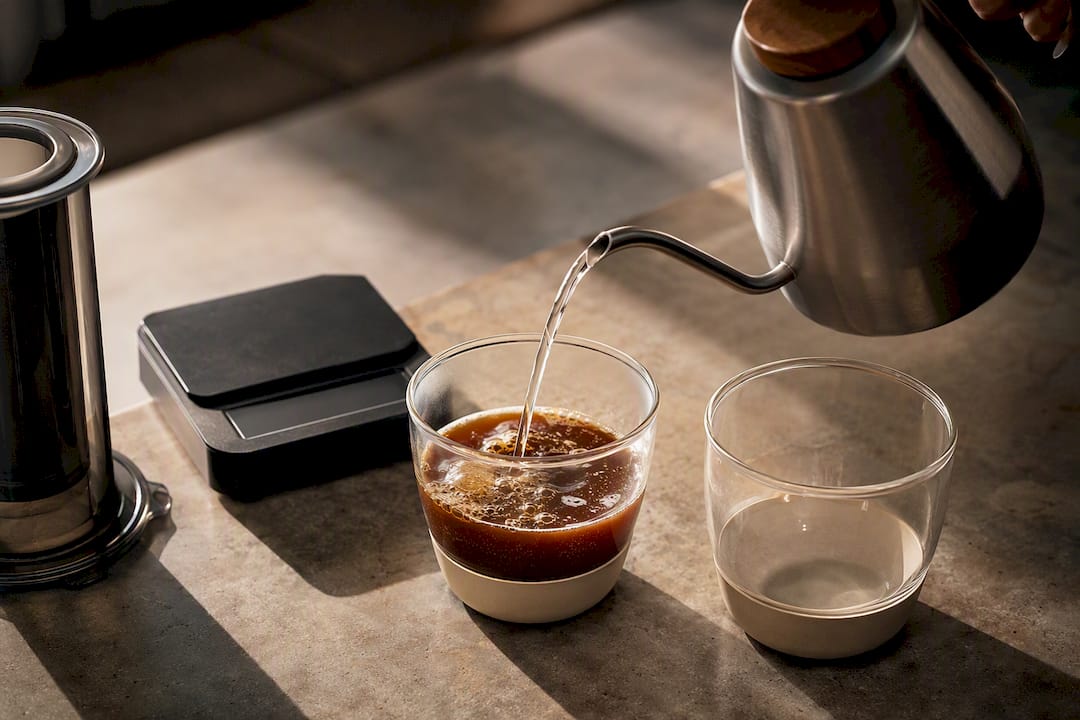
Competition brewers rely on inverted and bypass techniques specifically because they separate steep control from final serving size. You don’t need to compete to benefit. Reach for inverted when you want a lighter roast to taste its clearest, and bypass when you’re serving a bigger cup or building a milk drink.
Why Does My AeroPress Coffee Taste Off? A Troubleshooting Guide
Something tastes wrong and you don’t know why. Here’s the fix: work through strength, then extraction, then clarity, in that order, and change exactly one variable before you brew again.
That order matters more than most people realize. AeroPress troubleshooting breaks down into these three layers because they have different causes and different fixes. Strength is about how much coffee dissolved relative to water. Extraction is about which flavor compounds came out, and in what proportion. Clarity is about texture and grit reaching your cup.
| What You Taste | Likely Cause | Fastest Fix |
|---|---|---|
| Weak, watery | Ratio too dilute | Move to a 1:14 or 1:12 ratio |
| Sour, sharp | Under-extracted (grind too coarse, water too cool, or steep too short) | Grind finer, add 15 seconds to steep, or raise temp 5 degrees |
| Bitter, harsh | Over-extracted (too fine, too hot, or pressed too hard/long) | Grind slightly coarser, drop temp 5 degrees, or shorten steep |
| Muddy, gritty | Filter letting sediment through, or overly aggressive stirring | Switch to paper filter, rinse it first, stir more gently |
| Hard to press | Grind too fine, or too much coffee for the water volume | Coarsen the grind one notch |
| No resistance, presses instantly | Grind too coarse | Grind finer, check for channeling during the pour |
Change one variable, brew again, and taste. If you adjust grind, ratio, and temperature all in the same brew, you’ll have no idea which change fixed (or broke) the cup. The AeroPress gives you six independent variables you can control: grind size, ratio, temperature, steep time, agitation, and filter type. Isolating them is the entire game.
If you get lost or a brew goes sideways, don’t chase it. Return to the 1:16 baseline, confirm it still tastes right, and start your adjustments fresh from there.
What Grind, Ratio, and Temperature Actually Control
Three variables do most of the work in any AeroPress recipe, and they’re not interchangeable. Each one shapes a different part of the cup, so it pays to know which lever to pull.
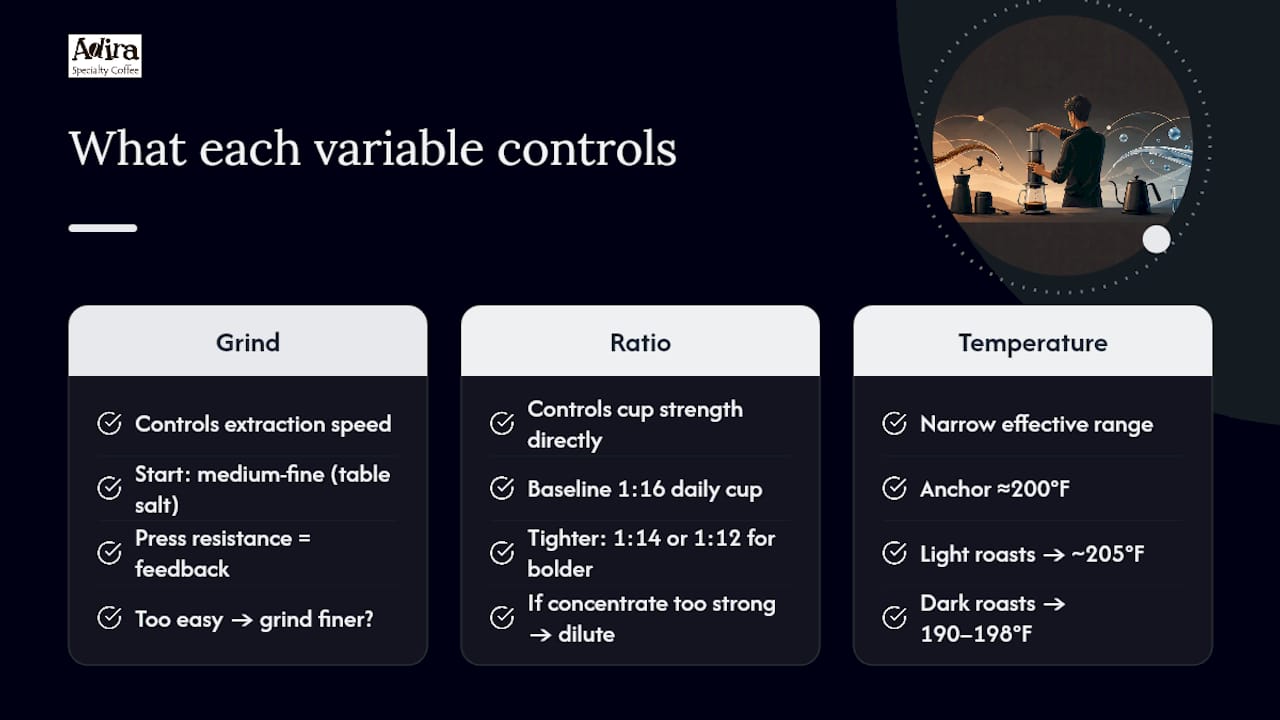
Grind size controls extraction speed and rate above almost everything else. Medium-fine, roughly the texture of table salt (no specific grind index numbers), is your starting point. Press resistance tells you where you actually landed: if the plunger moves easily with little pushback, your grind is likely too coarse; if it feels like pressing through wet cement, go coarser next time.
Ratio controls strength directly. The 1:16 baseline works for most daily cups, but tightening to 1:12 or 1:14 makes a noticeably bolder cup without changing anything else. If a concentrate recipe ends up too intense to drink straight, dilute it with hot water after brewing rather than trying to brew it weaker from the start. That’s the whole logic behind bypass brewing.
Temperature has a narrower effective range than people assume. Stick close to 200°F as your anchor. Light roasts often benefit from pushing toward 205°F, since their density and cell structure need more heat to extract fully. Dark roasts already extract easily and can turn bitter fast, so drop to 190°F to 198°F. Move in five-degree steps. A sensible dial-in order is grind first, since it’s your primary lever, then steep time, then temperature last, fine-tuning filter and agitation choices once the big three are locked.
Does Your Filter Choice Change the Cup?
Yes, more than most people expect. Paper filters produce a clean, bright cup with almost no sediment, which is why they’re the default for the recipes above. Metal filters let more oils and fine particles through, giving you a fuller, heavier body closer to French press territory. Stacking a paper filter over a metal one splits the difference if you want some extra body without full grit.
If your cup tastes muddy, switch to paper or go coarser on the grind. If you want more body and don’t mind a little texture, try metal and back off the grind slightly to avoid over-extracting the extra surface area exposed. Always rinse paper filters before brewing; it strips the papery cardboard taste and helps the filter seat properly against the cap.
Why Freshly Roasted Beans Change Everything
The company was co-founded after struggling to find a bag worth a second cup on American supermarket shelves, which is why every batch ships within days of roasting out of California. Freshness changes how forgiving a recipe is. Beans roasted more than a few weeks ago lose aromatic oils and often need slightly hotter water and a touch finer grind to compensate for lost solubility. Grinding immediately before brewing, rather than the night before, preserves far more of that aroma. Check the roast date on the bag before you dial in anything else. For a deeper walkthrough, the website’s starting AeroPress recipe page and broader brewing guides cover bean-specific adjustments in more depth.
My Own Brewing Checklist
Every brew, I weigh the dose, grind fresh, check the roast date on the bag, start the timer at first pour, stir the same way every time, press for the same duration, then taste and jot a quick note. One habit matters more than any recipe: change one variable per brew, and actually write it down. Skip the log and you’ll repeat the same mistake three weekends running.
— Stefan
Try Adira Coffee Cold Brew for Your Next Iced AeroPress
Building the iced flash-chill recipe from scratch works great, but some mornings you want cold coffee without grinding, weighing, or pressing anything. That’s where the Cold Brew fits into an AeroPress rotation. It’s roasted in small California batches, maintaining freshness in a format built for pouring straight over ice.
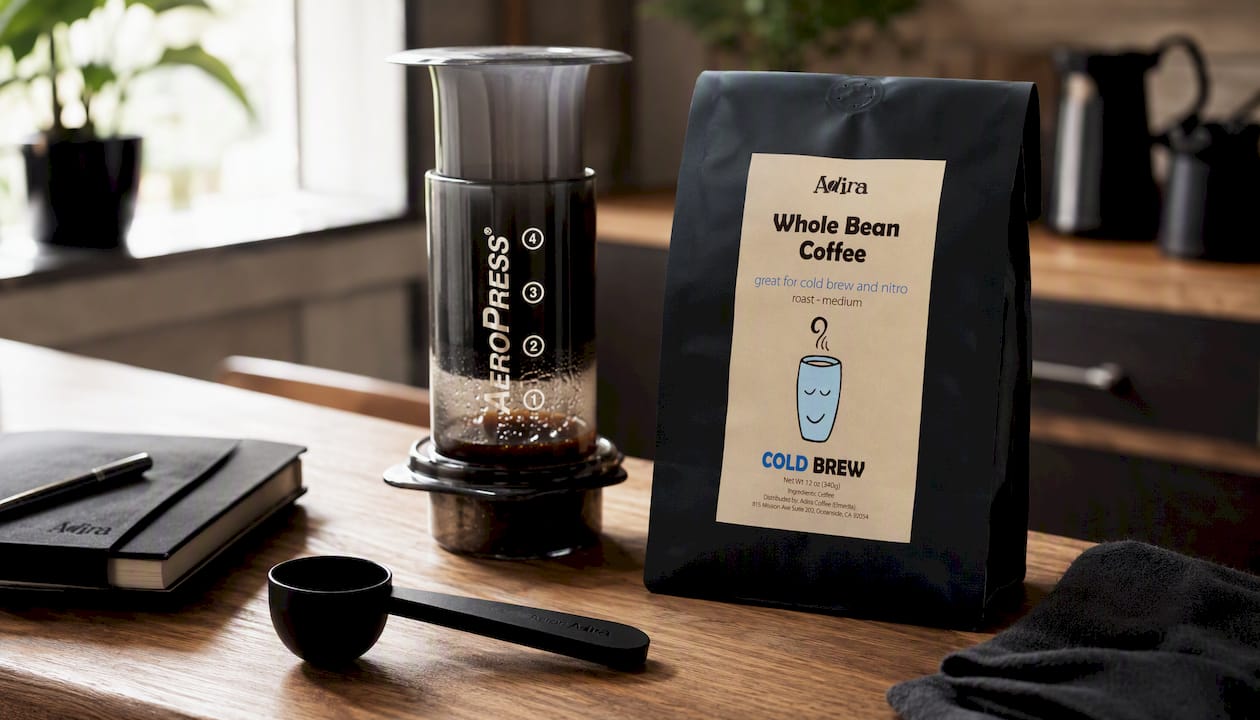
Keep it in the fridge for the mornings you don’t feel like brewing, and keep your beans on hand for the days you do. Both ship within days of roasting, so neither one sits around losing flavor before it reaches your cup. If you’re ready to stock your kitchen, grab a bag of Cold Brew and see how it holds up next to your usual AeroPress pour.