
TL;DR:
- Choosing the right brewing method greatly influences the quality and flavor of your coffee, with precise control over variables like grind size, water temperature, and timing being essential.
- Using proper tools, high-quality water, and following step-by-step techniques for methods such as pour-over, French press, espresso, AeroPress, and cold brew can produce café-level coffee at home.
The brewing method you choose is the single biggest variable between a forgettable cup and one you want to repeat every morning. This coffee brewing guide covers five methods in full: pour-over, French press, espresso, AeroPress, and cold brew. Each one demands a different grind size, water temperature, and timing. Get those three variables right and you will brew your own coffee at a level that rivals most cafés. This article walks through every technique with exact parameters, common mistakes, and fixes you can apply today.
What tools and water quality do you need for brewing methods step by step?
The right equipment is not optional. A burr grinder, a digital scale, a gooseneck kettle, and a thermometer are the four tools that separate consistent results from guesswork. A blade grinder produces uneven particle sizes, which means some grounds over-extract while others under-extract. That inconsistency shows up directly in the cup as bitterness or sourness.
Water quality is the variable most home brewers ignore. Water chemistry directly influences coffee extraction availability, and poor water chemistry cannot be fixed by adjusting temperature alone. The Specialty Coffee Association (SCA) Golden Cup Standard targets a total dissolved solids (TDS) level around 150 mg/L, a pH between 6.5 and 7.5, and low chlorine content. Hard tap water or distilled water both produce flat, unbalanced cups.
Carbon filtration removes chlorine and chloramine without stripping the minerals that coffee extraction depends on. A simple pitcher filter like Brita or a faucet-mounted carbon filter is enough for most home setups. If your tap water is very hard or very soft, adding a mineral packet such as Third Wave Water to distilled water gives you a precise starting point.
Core equipment at a glance
| Tool | Why It Matters |
|---|---|
| Burr grinder | Produces uniform particle size for even extraction |
| Digital scale | Measures coffee and water to the gram for repeatability |
| Gooseneck kettle | Controls pour speed and direction for even saturation |
| Thermometer or smart kettle | Holds water at the correct temperature for each method |
| Brewing device | Pour-over dripper, French press, AeroPress, or espresso machine |
Pro Tip: Weigh your water, not just your coffee. A 1:15 coffee-to-water ratio by weight is a reliable starting point for most filter methods.
How do you brew coffee step by step using pour-over?
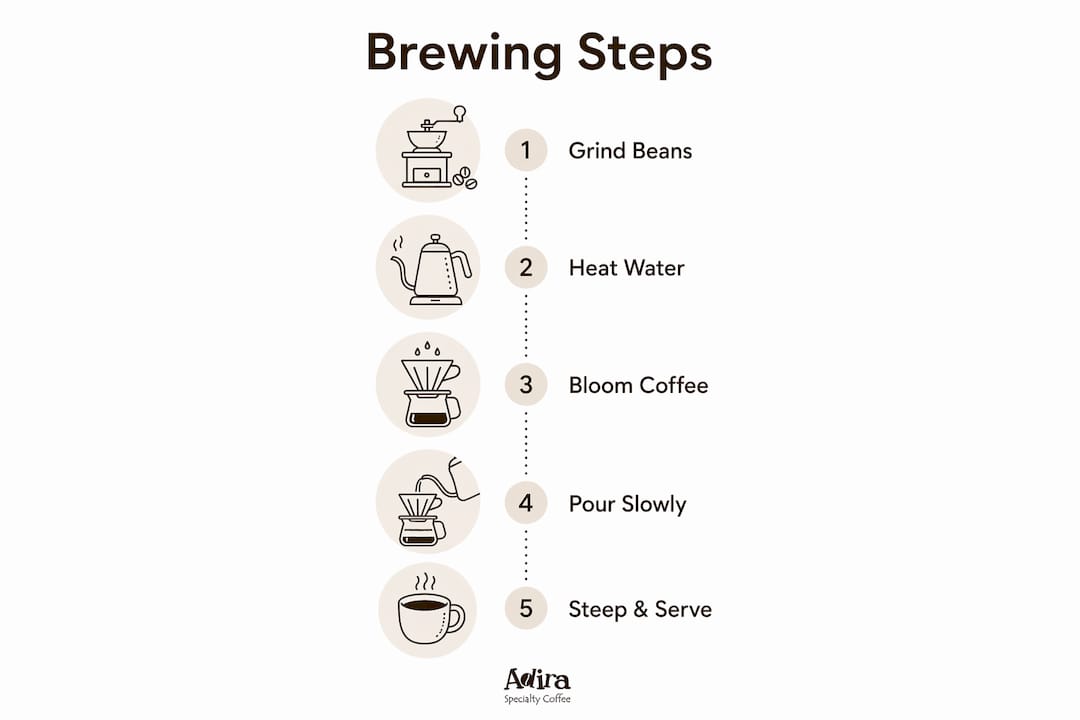
Pour-over is the method that rewards precision more than any other. The pour-over bloom step is where most beginners lose control of flavor. Here is the full sequence.
- Rinse the filter. Place a paper filter in your dripper (Hario V60, Chemex, or Kalita Wave all work). Pour hot water through it to remove the papery taste and preheat the vessel. Discard that water.
- Dose and level your grounds. Add 20g of medium-fine ground coffee. Shake the dripper gently to level the bed.
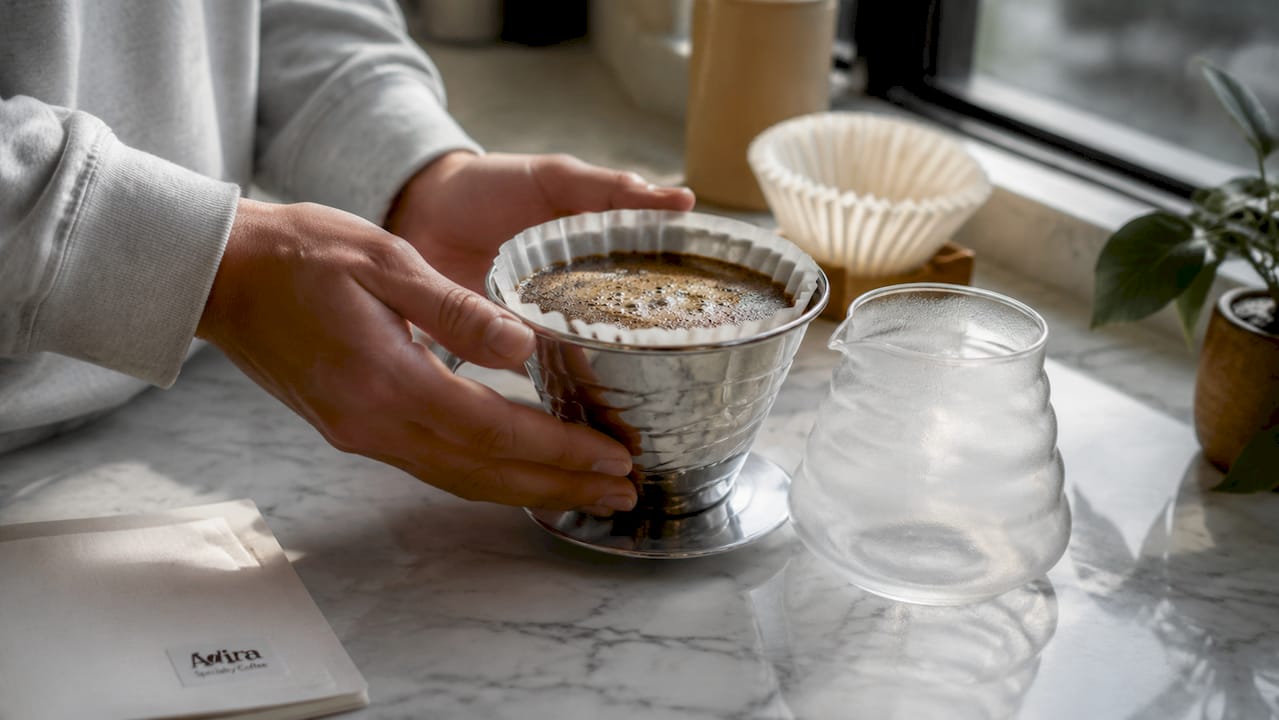
- Bloom. Pour water equal to 2–3× the coffee weight (40–60g) in a slow spiral starting from the center. Wait 30–45 seconds. This releases CO₂ trapped in fresh coffee and allows even saturation of the grounds.
- First main pour. Slowly add water up to about 150g total, pouring in concentric circles. Keep the pour steady and avoid hitting the filter walls.
- Second and third pours. Continue adding water in 50g increments, waiting for the bed to drain slightly between each pour. Total brew water: 300g.
- Finish. Total brew time should land between 3 and 4 minutes. If it runs faster, grind finer. If it stalls past 4 minutes, grind coarser.
Skipping the bloom phase causes uneven extraction and flavor inconsistency. That single step is the difference between a clean, layered cup and a flat one.
Pour-over troubleshooting
| Problem | Likely Cause | Fix |
|---|---|---|
| Sour, thin flavor | Under-extraction, grind too coarse | Grind finer, slow your pour |
| Bitter, harsh finish | Over-extraction, grind too fine | Grind coarser, reduce brew time |
| Uneven saturation | Pouring too fast or off-center | Use a gooseneck kettle, pour in slow spirals |
| Brew drains too fast | Grind too coarse or filter unseated | Regrind finer, reseat filter |
Pro Tip: Consistent bloom timing and water volume make grind adjustments easier to read. Lock in your bloom first, then adjust grind size.
What are the step-by-step instructions for french press?
French press is an immersion method. The coffee steeps directly in water, which produces a fuller body and more oils in the cup compared to filtered methods. The steps are straightforward, but timing and plunge technique matter more than most people realize.
- Preheat the press. Fill it with hot water, swirl, and discard. This keeps your brew temperature stable.
- Add coarse grounds. Use 30g of coarsely ground coffee for 450ml of water. A coarser grind prevents the grounds from slipping through the metal filter.
- Add water. Pour water just off the boil (around 200°F / 93°C) over the grounds. Fill to about 1 inch below the top.
- Stir once. Give the slurry a single gentle stir to saturate all the grounds evenly.
- Steep for 4 minutes. Place the lid on with the plunger pulled up. Do not plunge yet.
- Plunge slowly. Press the plunger down with steady, even pressure over about 20–30 seconds. Plunging slowly prevents bitterness caused by agitating the grounds and forcing over-extraction.
- Pour immediately. Do not let the coffee sit in the press. The grounds continue extracting even after plunging, which turns the cup bitter within minutes.
Pro Tip: If your French press tastes gritty, your grind is too fine. If it tastes weak, steep for an extra 30 seconds before adjusting the grind.
How to brew espresso step by step: pressure, dosing, and timing
Espresso is defined by pressure. A standard espresso machine operates at approximately 9 bars of pressure, forcing hot water through a compact puck of finely ground coffee in 25–30 seconds. That pressure is what creates the concentrated shot and the crema on top. No other home brewing method replicates it.
The key variables are dose, grind size, tamp pressure, and yield.
- Dose: Use 18g of finely ground coffee in a standard double portafilter basket.
- Grind: Fine, but not powdery. The grind should feel like table salt between your fingers.
- Tamp: Apply firm, level pressure (around 30 lbs) with a flat tamper. An uneven tamp creates channels where water bypasses the puck.
- Yield: Pull a 36g shot (1:2 ratio) in 25–30 seconds. A shot that finishes in under 20 seconds is running too fast. Grind finer. A shot that stalls past 35 seconds is too fine. Grind coarser.
- Temperature: Most machines target 195–205°F (90–96°C) at the group head.
For detailed espresso tamping technique, the angle and pressure of your tamp directly affect shot consistency. If your shots taste sour and thin, the extraction is too fast. If they taste bitter and harsh, the extraction is too slow.
Pro Tip: Change only one variable at a time when dialing in espresso. Adjust grind size first, then dose, then yield. Changing two things at once makes it impossible to know what fixed the problem.
What are the step-by-step techniques for AeroPress and cold brew?
AeroPress: standard and inverted methods
The AeroPress is the most forgiving brewing device available for home use. It produces a clean, concentrated cup in under two minutes. The inverted AeroPress method prevents dripping during steep and gives you more control over extraction time.
Standard method:
- Insert a paper or metal filter into the cap and rinse it with hot water.
- Place the AeroPress on your cup. Add 17g of medium-fine ground coffee.
- Pour 250ml of water at 185–205°F (85–96°C) over the grounds.
- Stir for 10 seconds. Place the plunger on top.
- Press down slowly over 20–30 seconds.
Inverted method:
- Flip the AeroPress upside down with the plunger inserted about 1 inch.
- Add 17g of coffee and pour 250ml of water.
- Stir, then steep for 60–90 seconds.
- Attach the rinsed filter cap, flip onto your cup, and press slowly.
Pro Tip: Lower water temperature (around 185°F) in the AeroPress produces a sweeter, less bitter cup. Try it with a light roast from Ethiopia or Colombia.
Cold brew: the 12–24 hour method
Cold brew is not iced coffee. Cold brew steeps coarse grounds in cold or room-temperature water for 12–24 hours, producing a smooth, low-acidity concentrate with no heat involved.
- Use a 1:8 ratio of coffee to water (50g coffee to 400ml water for a concentrate).
- Grind coarse, similar to French press.
- Combine in a mason jar or dedicated cold brew maker. Stir to saturate all grounds.
- Cover and refrigerate for 12–24 hours. Longer steep times produce stronger, more intense flavor.
- Filter through a fine mesh strainer or paper filter into a clean jar.
- Dilute 1:1 with water or milk before serving, or drink straight if you prefer a stronger cup.
Cold brew concentrate keeps in the refrigerator for up to two weeks. That makes it the most practical method for anyone who wants great coffee ready on demand.
Key takeaways
Mastering coffee at home requires matching the right grind size, water quality, and timing to each specific brewing method.
| Point | Details |
|---|---|
| Water quality is foundational | Target SCA standards: TDS around 150 mg/L and pH between 6.5 and 7.5 for balanced extraction. |
| Bloom is non-negotiable for pour-over | Use 2–3× coffee weight in water and wait 30–45 seconds to release CO₂ and even out saturation. |
| French press needs a slow plunge | Press over 20–30 seconds and pour immediately to prevent bitterness from over-extraction. |
| Espresso lives and dies by grind size | Adjust grind first when a shot runs too fast or too slow before changing dose or yield. |
| Cold brew rewards patience | Steep coarse grounds for 12–24 hours in cold water for a smooth, low-acidity concentrate. |
What i’ve learned after years of brewing at home
Most home brewers chase the wrong variable. They buy expensive beans, then brew them with tap water that smells faintly of chlorine and a grinder that produces half powder and half chunks. The coffee never tastes right, and they blame the beans.
The bloom step changed how I think about pour-over entirely. I used to rush it or skip it on busy mornings. The difference in the cup is not subtle. A properly bloomed pour-over has a clarity and sweetness that a rushed one simply does not. I now treat the 30-second bloom wait as non-negotiable, the same way I treat weighing my coffee. You can read more about why blooming matters if you want to go deeper on the science.
My second hard-won lesson: buy a decent burr grinder before you buy anything else. A $150 burr grinder paired with a $20 pour-over dripper will outperform a $20 blade grinder paired with a $200 dripper every single time. Grind consistency is the foundation everything else sits on.
The last thing I recommend is keeping a simple brewing journal. Write down your dose, water weight, grind setting, and brew time for each cup. When you hit a cup that tastes exactly right, you will know exactly how to repeat it. Without notes, you are guessing every morning.
— Stefan
Start with better coffee, then perfect your technique
Every technique in this guide performs at its best when the coffee itself is worth brewing. Adiracoffee roasts single-origin beans and signature blends in small batches in California and ships them within days of roasting. Fresh coffee blooms better, extracts more evenly, and simply tastes more alive in the cup.

If you are building out a cold brew routine, Adiracoffee’s ready-to-drink cold brew is worth trying alongside your homemade batch. For a medium roast that works beautifully across pour-over, AeroPress, and French press, the Mushroom Coffee Medium Roast delivers a clean, balanced cup with an added functional edge. Free US shipping on orders over $35, and a subscription saves you 10% on every bag.
FAQ
What is the best water temperature for brewing coffee?
Most filter methods perform best between 195°F and 205°F (90–96°C). Espresso targets the same range at the group head, while AeroPress can go lower, around 185°F, for a sweeter result.
How coarse should i grind for french press?
French press requires a coarse grind, similar in texture to coarse sea salt. A finer grind slips through the metal filter and makes the cup gritty and bitter.
Why does my pour-over taste sour?
Sourness in pour-over usually signals under-extraction. The most common causes are a grind that is too coarse, water that is too cool, or a pour that is too fast. Grind finer and slow your pour first.
How long does cold brew take to make?
Cold brew steeps for 12–24 hours in cold or room-temperature water. A 12-hour steep produces a lighter concentrate; 24 hours gives you a stronger, more intense flavor.
Do i need an expensive espresso machine for good shots?
You need a machine that reaches 9 bars of pressure consistently. Entry-level machines from Breville and DeLonghi hit that threshold. Grind quality matters more than machine price above that baseline.