
For a 3-cup moka pot, use 18 grams of finely ground coffee, fill the bottom chamber with water just below the safety valve, and pull it off the heat the second the stream turns pale and starts to gurgle. That’s roughly a 1:8 coffee-to-water ratio. Three things decide whether your cup is smooth or scorched: grind size (fine-medium, never espresso-fine), heat level (low to medium, always), and your stop point. Weigh your dose if you own a scale. Everything else is fine-tuning.
TL;DR:
- Using a 1:8 coffee-to-water ratio with 18 grams of coffee in a 3-cup moka pot is ideal, but slight adjustments between 1:7 and 1:10 can suit personal strength preferences.
- Always fill the water chamber just below the safety valve and weigh the water for consistency, avoiding overfilling or inaccurate eyeballing.
- Brew on low to medium heat and remove from heat when the coffee stream turns pale and begins to gurgle to prevent bitterness and over-extraction.
- Grind size should be fine-medium, never espresso-fine, and the coffee should be fresh, medium to medium-dark roasted, and ground just before brewing for optimal flavor.
- Serve moka concentrate diluted into hot water for an Americano or mixed with milk for a mini latte, and keep the pot clean by rinsing with warm water and checking the gasket periodically.
Table of Contents
- Moka Pot Coffee Ratio and Dose by Pot Size
- How Do You Brew Coffee in a Moka Pot Step by Step?
- Why Does My Moka Pot Coffee Taste Bitter or Sour?
- What Grind Size and Roast Work Best for a Moka Pot?
- How Do You Serve Moka Pot Coffee?
- What Makes a Moka Pot Recipe Reliable Over Time
- A Founder’s Take on Dialing In Moka Pot Coffee
- Want a Faster Cup Without Losing the Ritual?
- Where These Numbers Come From
- Sources
- FAQ
Moka Pot Coffee Ratio and Dose by Pot Size
The math behind a good moka pot recipe is simpler than most guides make it sound. You’re aiming for roughly 1:8 coffee to water by weight, though anywhere from 1:7 to 1:10 works depending on how concentrated you like your cup. The filter basket dictates most of the dose. Fill it level with grounds, and you’ll land close to these numbers almost automatically.
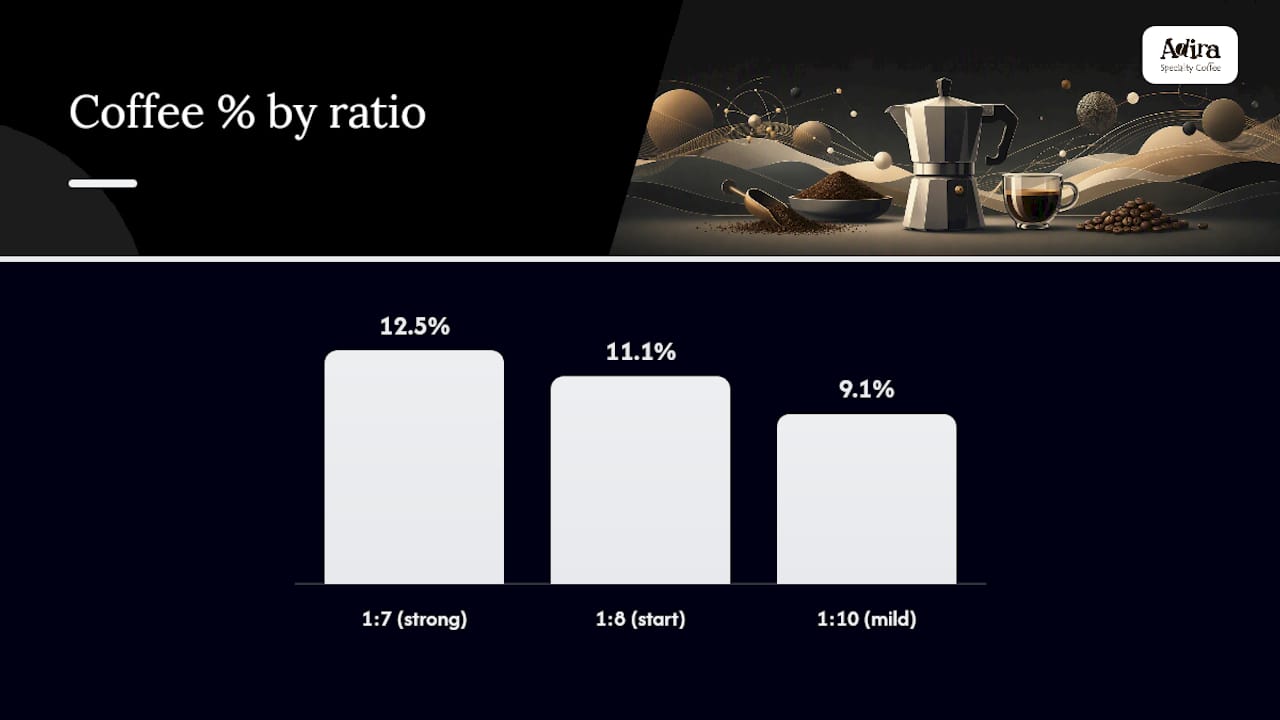
Here’s what that looks like across common pot sizes:
Those figures track closely with the dose recommendations from The Coffee Calculator, which scales linearly as pot size increases. A few things matter more than the exact gram count:
- Fill the water chamber to just below the safety valve, not to the top. Covering that valve is a safety issue, not just a brewing one.
- If you have a scale, weigh the water instead of eyeballing it. Consistency is the whole point of a repeatable recipe.
- Starting with hot water instead of cold shortens your time over the burner and helps avoid a scorched, metallic taste from grounds that sit too long over rising heat.
- The basket should be full and leveled off, never packed or tamped like an espresso puck.
Once you’ve got dose and water sorted, the process itself is where most people either win or lose the cup.
How Do You Brew Coffee in a Moka Pot Step by Step?
Getting a moka pot recipe right is less about precision equipment and more about paying attention at the right moment. Miss the window between “almost done” and “burnt,” and you’ll taste it.
- Heat your water first (optional but recommended). Boiling water in a kettle and pouring it into the bottom chamber cuts brew time dramatically and reduces the risk of grounds cooking too long over a hot burner, which is where metallic and bitter flavors usually come from.
- Fill the bottom chamber. Pour water to just below the safety valve. Never cover it. That valve exists to release pressure if something blocks the system, and burying it defeats the purpose.
- Load the filter basket. Add your ground coffee and level it off with a finger or the back of a spoon. Do not press or tamp it. A moka pot relies on steam pressure, not compression, and a packed puck can choke the flow or, worse, spike pressure dangerously.
- Assemble and screw the pot together snugly, using a towel if the bottom chamber is hot from preheated water.
- Set it on a small to medium burner. A flame or heating element larger than the base of the pot wastes heat and cooks the handle. Medium to low heat is the target. High heat is the single most common reason moka coffee turns bitter.
- Watch the spout, not the clock. You’ll hear soft bubbling first, then see a steady, honey colored stream. That’s the good stuff. When the stream turns pale and starts sputtering or gurgling loudly, that’s your signal.
- Pull it off the heat immediately at that first gurgle. A quick trick from professional kitchens: run the bottom chamber briefly under cold water or set it on a damp towel to stop extraction instantly.
- Stir the upper chamber before pouring. Coffee stratifies as it brews, with the strongest extraction settling at the bottom of the pot. A quick stir evens it out before it hits your cup.
Pro Tip: Crack the lid open slightly while brewing so you can watch the color change in real time. The moment honey turns to pale straw, you’re one gurgle away from bitter.
This sequence lines up closely with the stovetop method America’s Test Kitchen outlines, which stresses controlled heat and a watchful eye over speed.
Why Does My Moka Pot Coffee Taste Bitter or Sour?
Every off-flavor from a moka pot traces back to one of three levers: grind, heat, or timing. Bitterness is rarely a flaw in the pot itself. It’s almost always a symptom of technique, and that’s actually good news, because it means the fix is usually a small, specific adjustment rather than a new piece of equipment.
- Tastes bitter or burnt: Grind is too fine, heat is too high, or you let it run past the first gurgle into the sputtering stage. Stop the moment the stream turns pale and drop your burner setting one notch.
- Tastes sour or weak: Grind is too coarse, dose is too low, or heat was too gentle to build enough pressure. Grind slightly finer and confirm your dose matches the chart above.
- Tastes metallic: Often a mineral-heavy tap water issue, or grounds that cooked too long during a slow cold start. Try filtered water and preheat next time.
- Sputters loudly right from the start or brews too fast: Grind is likely too coarse, or the basket wasn’t full. Underfilled baskets let water rush through unevenly.
- Tastes flat despite a good stop point: Check your gasket. A worn or misaligned rubber seal lets steam escape around the edges instead of pushing through the grounds, and it’s the most overlooked part on an older moka pot.
When you’re chasing a specific flaw, change one variable at a time. Adjust grind, brew, taste, and log the result before touching heat or dose next. It’s slower than tweaking three things at once, but it’s the only way to actually know what fixed the problem you’re solving rather than guessing your way to a lucky cup.
What Grind Size and Roast Work Best for a Moka Pot?
Grind size for moka pot brewing sits between espresso and standard drip: fine-medium, with a texture close to table salt. Espresso grind is too fine for the moka pot’s lower pressure and will choke the basket, pushing you straight into bitter, over-extracted territory. Pre-ground “moka pot” coffee sold at grocery stores tends to run too coarse for a strong result, so don’t assume the label guarantees the right texture.
- Start fine-medium and taste. Too bitter, go slightly coarser. Too weak or sour, go slightly finer.
- A burr grinder gives far more consistency than a blade grinder, which chops unevenly and leaves both fines and boulders in the same dose.
- Grind right before brewing. Pre-ground coffee loses aromatic oils within minutes of grinding, not days.
- Medium to medium-dark roasts are the most forgiving starting point for new moka brewers. Light roasts can work beautifully but need tighter dialing since they’re denser and less soluble.
Freshness matters as much as roast level. Coffee that’s been sitting on a shelf for months brews flat no matter how well you dial in grind and heat, which is part of why small-batch roasting roasted to order tends to outperform anything that’s been sitting in a warehouse. For a deeper look at matching grind to your specific pot, Adira’s grind size dial-in guide walks through adjustments pot by pot.
How Do You Serve Moka Pot Coffee?
Moka pot concentrate is strong enough to stretch into more than a straight shot. A rough Americano works well at a 1:1 or 1:2 ratio of hot water to moka coffee, depending on how bold you want it. For a small milk drink, mix equal parts moka concentrate and steamed or frothed milk, similar to a mini latte, and use a handheld frother if you don’t have a steam wand.
- Diluted Americano: start 1:1 hot water to moka coffee, adjust from there.
- Mini latte: equal parts moka concentrate and steamed milk.
- Iced version: pour hot moka coffee over ice immediately so it doesn’t over-extract while sitting warm.
- Simple flavor add-ins: a pinch of cinnamon or cocoa in the grounds before brewing.
If you’re plating a full breakfast spread alongside your coffee, Wild Foodz’s presentation tips are worth a look for making the whole table feel intentional rather than thrown together.
What Makes a Moka Pot Recipe Reliable Over Time
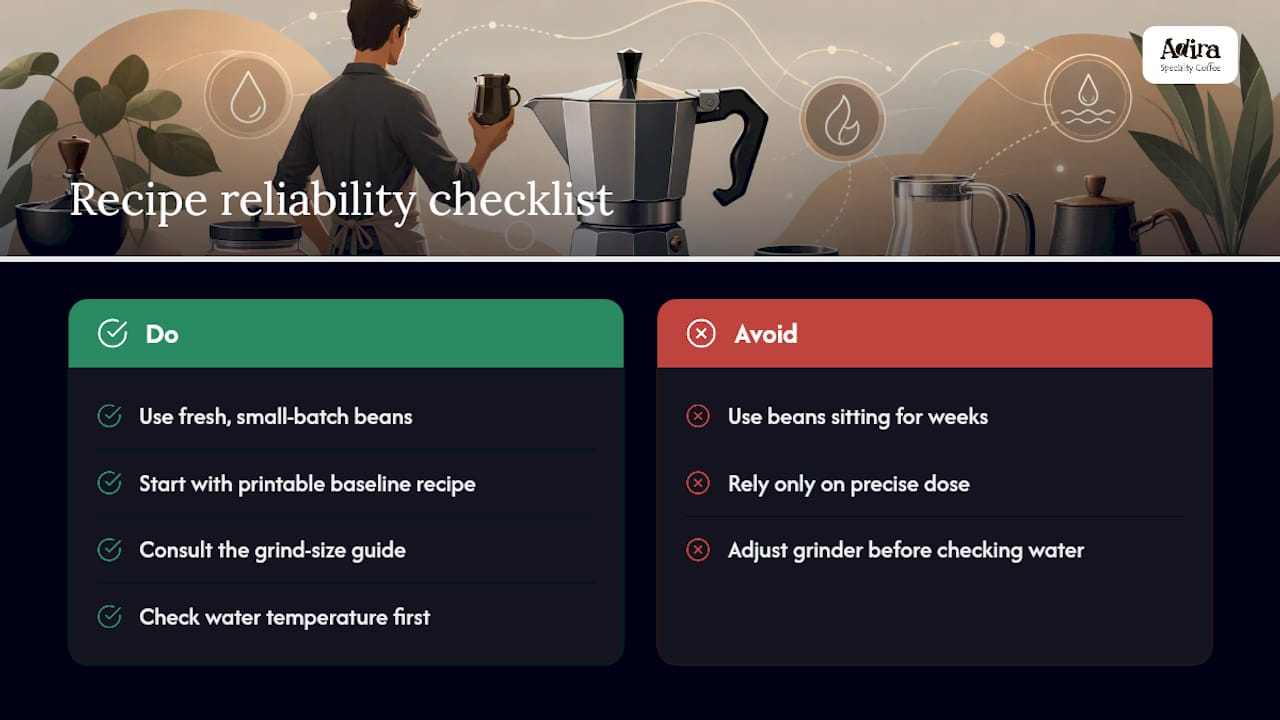
A recipe only holds up if the coffee behind it does. Fresh, small-batch roasted coffee shipped quickly matters more for moka pot brewing than most people expect, since stale beans lose the oils that create that honey-colored stream you’re watching for at the stop point. Beans that have been sitting for weeks brew thinner and flatter no matter how precisely you weigh the dose.
If you’re new to dialing in a moka pot, Adira’s starting recipe page gives a printable baseline tuned for common pot sizes, and the grind size guide covers the adjustments in more depth. One tip from Stefan worth keeping in mind: when a batch tastes flat, check your water temperature before you touch the grinder. Cold starts are the most underrated cause of dull moka coffee.
A Founder’s Take on Dialing In Moka Pot Coffee
The biggest mistake I see people make with a moka pot recipe is treating the first attempt as final. Change one thing, brew again, and taste side by side. When I shifted from a cold start to preheated water on a stubborn batch of medium roast, the metallic edge disappeared almost entirely. That one change taught me more about timing than a dozen grind adjustments ever did.
— Stefan
Want a Faster Cup Without Losing the Ritual?
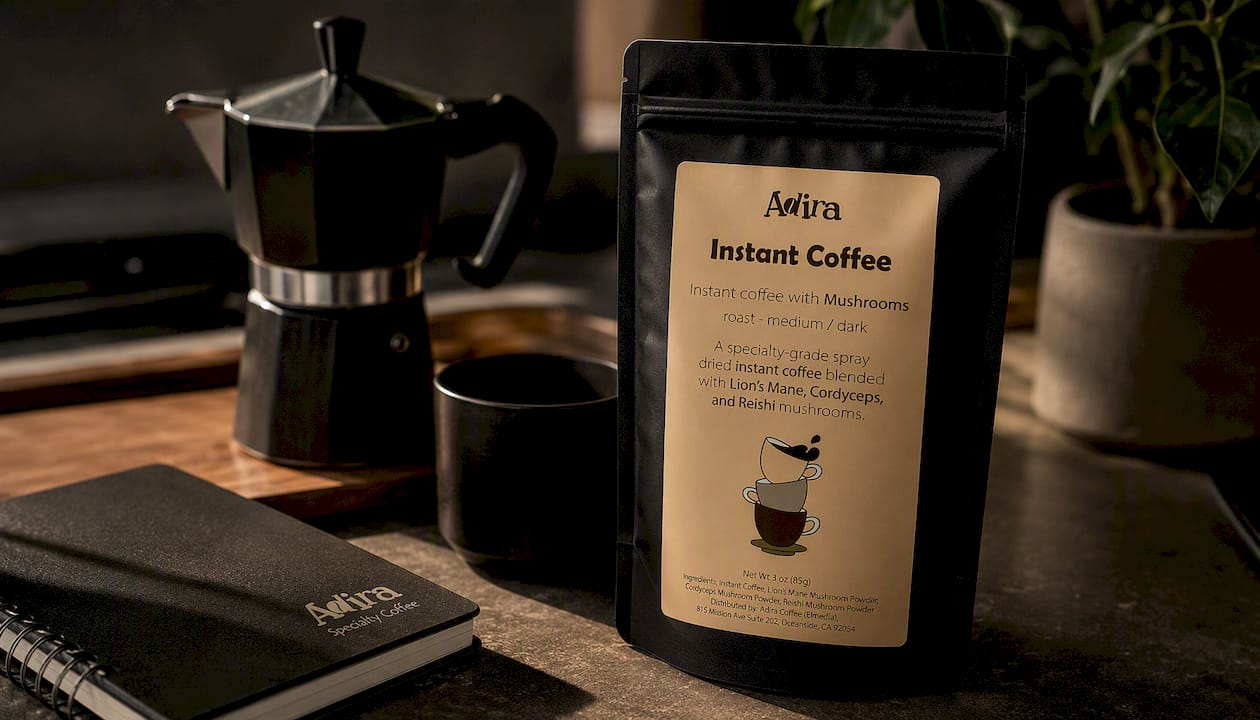
Some mornings don’t leave time for the stovetop dance of grind, heat, and gurgle watching, and that’s fine. Adira’s Instant Coffee with Mushrooms gives you a moka-like concentrated cup in seconds, built from the same small-batch sourcing philosophy behind every bag Adira roasts. It’s a practical option for the days when you want strong, consistent coffee but not the cleanup that comes with a stovetop pot.
If your moka pot habit ever needs a backup for busy weeks, order the instant blend here and keep it in the pantry for exactly those mornings.
Where These Numbers Come From
The dose and ratio figures above draw from Barista Life’s moka pot ratio guide and The Coffee Calculator’s brewing tool, both useful for scaling recipes to pot sizes not covered here.
Sources
- Moka Pot Coffee Calculator: Recipe, Ratios & Brew Guide
- How to Dial In Moka Pot Coffee
- How To Use a Moka Pot To Make Superb Coffee
FAQ
What is the best coffee ratio for a moka pot?
A 1:8 ratio of coffee to water by weight is the standard starting point, with a workable range between 1:7 and 1:10 depending on how strong you like it.
What are the negatives of a moka pot?
Moka pots require close attention during brewing since a few extra seconds over heat can push coffee into bitter, over-extracted territory, and the metal parts and gasket need regular upkeep to avoid metallic flavors or leaks.
What is the best recipe for coffee in a moka pot?
For a 3-cup pot, use 14 to 18 grams of fine-medium ground coffee, fill water just below the safety valve, brew on low to medium heat, and remove it from heat the moment the stream turns pale.
What can I make with a moka pot?
Beyond a straight shot, moka concentrate works well diluted into an Americano, mixed 1:1 with steamed milk for a mini latte, or poured over ice for a quick iced coffee.
How do I clean and maintain a moka pot?
Rinse the pot with warm water only, no soap, since soap residue can affect flavor over time, and check the rubber gasket periodically for cracking or hardening since a worn seal causes weak, flat-tasting extractions.